Showing posts with label vegetarian. Show all posts

Friday, January 10, 2014

Sweet potato and black bean enchilladas

Good heavens, I haven't posted since May! Last time I mentioned that I hadn't officially made it into my graduate program yet (most molecular biology PhDprograms have you do rotations in 3+ labs, then you choose the lab you want to spend the next few years of your life in. Some programs, including mine, also have a written exam at the end of the first year, which is important to pass before you are officially accepted) but shortly after the last post it became official.

 So I have been in a lab for the last 6ish months, working on my dissertation research, which is awesome! But though things have slowed down from my first year (I often only work 60 hours a week now! You may roll your eyes at the "only" but I was doing 12 credits of grad work last spring, and studying takes a while)  grad school is really quite time consuming. And I try to find time for my spouse, and occasionally to be social, and to go to the gym every now and again, so I don't exactly spend the kind of time on fun baking as I did when I was unemployed in 2011. But the Man and I try to trade off who makes dinner each night, so I am still doing a decent bit of cooking, it just isn't always very creative.

However, these enchiladas are really quite low-effort for how good they taste, and they are quite healthy as well. I have made these enchiladas several times now, including for vegetarian guests one time, and they liked them quite a bit. This is very much inspired by a sweet potato burrito served at the vegetarian restaurant in town (called Sweet Melissa's, I highly recommend it if you are ever in Southeastern Wyoming) which is amazing, but sometimes I am just too tired to go out when I want enchiladas. So this is how I make them! They are vegetarian (except that I use a bit of chicken broth when it is just us omnivores [that is what I always have open in the fridge] but you can use vegetable broth or water) and pretty easy to make vegan/dairy-free, just skip the cheese!


Sweet potato and black bean enchiladas

serves about 3

1 roasted medium sweet potato
16 oz can of black beans, rinsed and drained
salt and pepper to taste
2 tablespoons gluten-free broth (I used chicken, but use vegetable to make it vegan/vegetarian) or water, optional
Gluten-free tortillas (I use the small corn tortillas from Mission)
shredded cheese, optional
16-24 oz jar of salsa verde, mild or medium
1/4 avocado, optional

Preheat oven to 400 F. line a pan with foil, and place your sweet potato in the pan. Roast until the sweet potato is soft, about an hour if it is medium sized, an hour and twenty minutes if it is big. (I like to roast several at a time and use them in recipes later in the week, cooked sweet potatoes seem to keep for a while. There are 3 in the picture but I just used 1).


Let the sweet potato cool until it is safe to handle. I like to stick sweet potatoes in the fridge. After it has cooled sufficiently, cut it in half, and then peel the skin off. At this point, if you turned off the oven (which I did, having roasted these the day before) begin preheating it to 400 F.


The skin should pull off pretty easily if the sweet potato is cooled enough, but you can use a knife to cut off any stubborn bits.


Cut the sweet potato into small cubes. It should be pretty soft, but doesn't need to be completely squishy, just make sure the middle isn't crunchy. If it is, you can cook it in the oven longer, or microwave the uncooked parts for a minute or two.


Put the cut sweet potato into a bowl, and add the rinsed black beans to the bowl. Season with salt and pepper, or other seasonings if you'd like. I add two tablespoons of broth at this point, it adds a bit more flavor, and some moisture that lets the filling stick together better, but you can skip it or use water or vegetable broth to keep it vegetarian. 


Stir everything together until the ingredients are evenly distributed.


Now you can start filling the tortillas. The little corn tortillas crack easily, so be careful when handling them. Lay out a couple tortillas in a baking dish, preferably one that is lined with foil and well-oiled. Scoop a couple spoonfuls of the sweet potato and black bean filling onto the tortillas.


I added some cheese (I can tolerate dairy quite well now! After my roughly 18 month hiatus from all dairy products except butter) but the meal is still delicious without any cheese if you don't do dairy.


Fold over each tortilla as shown below. The corn tortillas like to split apart at this stage, so be careful when folding them.


Now flip the rolled enchilada over so that the seam side is facing down.


Like so! Repeat with your other tortillas. 


Fill all the other tortillas and flip them over until you A. have decided you have enough enchiladas, B. Run out of room in the baking dish or C. have used up all of your filling.

Pour a jar of salsa verde over the enchiladas so that they are all covered in sauce. I did not take a picture because there is no way to make a pan of salsa verde look appetizing under fluorescent lighting at night. This is a 24 ounce jar, but I think you could get by with only 16 ounces if you don't like really saucy enchiladas.


I added some cheddar and mozzarella cheese. Again, this isn't necessary if you don't do dairy, but it is tasty. I find that serving Mexican-inspired food with avocado or guacamole instead of cheese is a very good substitution.


Bake at 400 F for 20-25 minutes.


I like to serve these with avocado, but skip it if you are not so inclined.


And that's it! These are easy and tasty, and pretty quick if you roast the sweet potato ahead of time. 

Sunday, February 12, 2012

Molten Chocolate Lava Cake, Gluten Free

You can see here why it is called "molten" and "lava" since a little batter spills out of the finished cake.

We don't typically do a lot to celebrate Valentine's Day at my household. It can be a fun holiday, if you are seeing someone; but it can be painful if you are single, or a hassle if you're not, or both either way. I suppose it just seems strange when a holiday insists that you must be romantic in a certain way on a certain day, especially a holiday named for a Roman martyr. Valentine's Day is nice excuse for chocolate and a date night, though.

Which was part of the inspiration for making a gluten-free chocolate lava cake. I keep seeing glutenous chocolate recipes everywhere on the Internet because it is February. I used to make this recipe a fair bit, because it is quick, easy, and delicious, yet seems quite fancy. So I adapted it to be gluten-free. It can also be made totally dairy-free if you use coconut oil instead of butter. Both are delicious.

This is a pretty fantastic dessert, and just in time for Valentine's Day, whether you celebrate it or not!

Molten Chocolate Lava Cake, Gluten Free

Adapted from Brandielle's recipe

Also, the Pioneer Woman made the original recipe with a bunch of step-by-step photos a few years ago, if you are so inclined.

Serves 2 (can easily double or triple)

4 ounces dark chocolate
¼ cup butter or coconut oil (½ a stick)
½ cup powdered sugar
½ cup gf flour, such as sorghum
2 eggs
1 tsp vanilla

Preheat oven to 425 F.

Melt the chocolate and butter together by microwaving in a microwave-safe bowl in 20 second increments. Stir between microwaving, until the contents of the bowl are completely melted. Allow the mixture to cool for 3-5 minutes.

Add the sugar, flour, eggs, and vanilla, and whisk until the mixture is smooth. Spoon the batter into two well-greased ramekins. Bake for 13-14 minutes, or until soft in the middle, but not liquid.

Remove the ramekins from the oven, and let cool for a few minutes. Invert the ramekins onto a plate. The cake should have a bit of gooey batter in the middle, hence the “molten” and “lava” in the title. Eat and enjoy!


Stirring the melted chocolate and butter/coconut oil

Stirring in the flour, sugar, vanilla, and eggs. It is important to let the chocolate cool off a bit before adding in the eggs, so that they don't congeal or cook.

The batter prior to baking.

After baking.

Inverted.

Delicious chocolate middle! It is like having chocolate sauce on your cake, but without the extra work.

Sunday, January 29, 2012

Delicious Chocolate and Blood Orange Cupcakes

(Which I was going to call “Gluten-free vegan chocolate cupcakes with a customization option which I made with blood oranges” but I realized that this was a rather long-winded way of titling something which, quite simply, was delicious).


These pictures are not the greatest; I was in a hurry to finish baking before a meeting.

A lot of people in my life have food allergies/intolerances now, and so it is pretty common to have long email threads before a gathering to see who can eat what, and what people should bring that everyone can eat. This is very confusing for folks who do not live with these dietary issues, particularly when it comes to baking. So, usually I am asked to handle the desert. Which I am happy to do!

Most recently, we needed to accommodate egg, dairy, and gluten issues, so the brownies that I normally make were out. I had made these mocha cupcakes before, and they were delicious, but there were young kids at the gathering, and I didn't think their parents would appreciate a caffeine-laden desert. But I liked the idea of cupcakes (according to The Internet, cupcakes are a culinary trend that is becoming unfashionable) (I think that is ridiculous, cupcakes have always been a mainstay of birthday parties and gatherings where a layer cake is impractical) (plus they are super-kid friendly and seem to make a bit less of a mess) (good heavens this is a lot of parentheticals) so I tweaked the already-fabulous recipe into something that would work for me.

And thus we have this recipe for a plain chocolate cupcake, which is also vegan and gluten-free.

Chocolate cupcakes

Adapted from the Gluten-Free Goddess

Dry ingredients

¾ cup sorghum or brown rice flour
¾ cup cornstarch
½ cup cocoa powder
1 cup granulated sugar
½ rounded tsp sea salt
1 tsp baking soda
1 tsp baking powder
1 tsp xanthan gum

Other ingredients
2 Tbs ground flax seed + 4 Tbs warm water (you can use 2 eggs instead if you prefer)
1 cup non-dairy milk of choice
3 Tbs light-tasting oil
½ tsp vinegar
1 tsp vanilla extract

Preheat oven to 350 F.

Combine the flax with the warm water in a small bowl, and set aside, allowing it to sit for at least five minutes. This is your “egg.”

Combine the dry ingredients in a medium sized bowl, and whisk together to incorporate.

Add in the other ingredients, including the flax “egg,” and mix for 2-3 minutes. This can be done in a stand mixer or with a regular spoon or whisk if you don't mind a work-out. The batter will be very thick, and somewhat stringy.

Fill muffin tins (lined with cupcake liners) about 2/3 full of batter. It may be necessary to smooth out the tops of each tin of batter with the back of a spoon in order to get a smooth top after baking.

Bake cupcakes for 20 minutes.

Makes 1 dozen cupcakes.

Remove from the tin to a wire rack to cool, or else the cupcakes become slightly soggy.

Wait until the cupcakes have completely cooled prior to frosting.

Frosting:

2 cups powdered sugar
2-4 Tbs shortening (I used Spectrum)
¼ cup cocoa powder
1 tsp vanilla extract
2-3 Tbs non-dairy milk

Combine the first four ingredients, then add “milk” one tablespoon at a time. Blend with a stand or hand mixer until fluffy. Add more liquid if necessary. Pipe or spread onto cooled cupcakes.

Unfrosted chocolate cupcakes. Gluten-free baked goods are often a little lumpy if you don't smooth out the batter.

Variation:

After making these, I decided to try to make another variety. I suspect you could make infinite variations to this recipe if you so desired. Basically, you change what spices or extracts you add to the batter, replace cocoa powder with cornstarch if the cupcake is non-chocolate, and use different liquids for the “milk.” I made a blood orange cupcake, and it was fantastic. I used these ingredients, following the instructions above. Please experiment with making your own changes to the recipe, until you find something that you really like! The recipe seems to be pretty forgiving.

Blood orange cupcake variation

Dry ingredients

¾ cup sorghum flour
1 ¼ cup cornstarch
1 cup sugar
½ rounded tsp sea salt
1 tsp baking soda
1 tsp baking powder
1 tsp xanthan gum
half the zest of a blood orange
½ tsp nutmeg

2 Tbs flax + 4 Tbs warm water
3 Tbs oil
½ cup blood orange juice
½ cup coconut milk
2 tsp lemon juice

Frosting:

2 cups powdered sugar
2-4 Tbs shortening
half the zest of a blood orange
~2 Tbs blood orange juice


Unfrosted cupcakes. These were pretty tasty plain.

Pretty pink frosting.


So try either variation, or play with the ingredients and make your own! Cupcakes should be fun as well as tasty.


Sunday, December 18, 2011

Ruby Cakes Review

Dear readers who don't live in Oregon: feel free to skip this post, as it is about a local business.


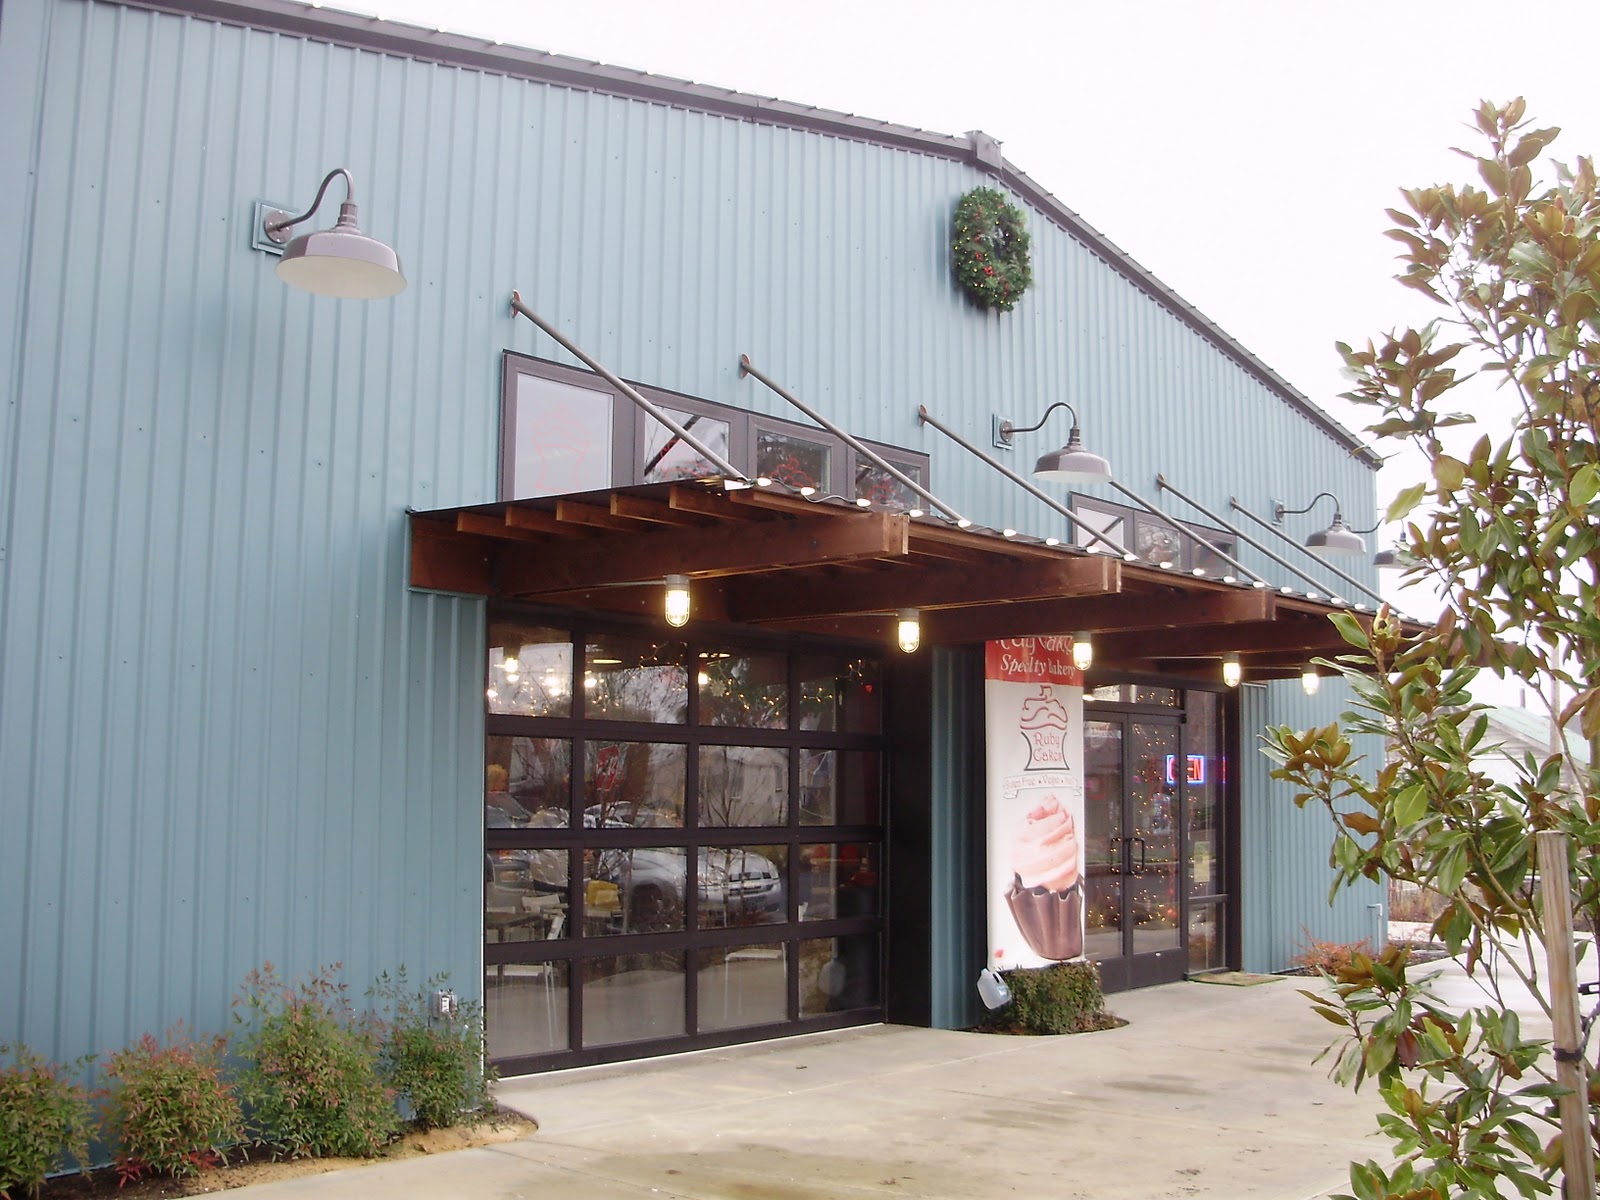
This weekend, The Man and I tried out a new bakery in the area. That sounds a bit mundane, until it is pointed out that the bakery mentioned is a dedicated gluten-free, nut-free, vegan place. “Wait, so I can eat every single thing?” was my reaction when I first heard that this place was opening.

Ruby Cakes in McMinnville was a fantastic experience. They had quite a variety of baked goods, and each thing that we tried was amazing. Moreover, there was something wonderful about knowing that the treats were perfectly safe for my food intolerances, as well as many other people in my life. The staff were friendly and knowledgeable, and genuinely interested in providing the community with allergen-free treats. I was also pleased that the prices were quite reasonable; comparable to what I have paid for things at glutenous bakeries.


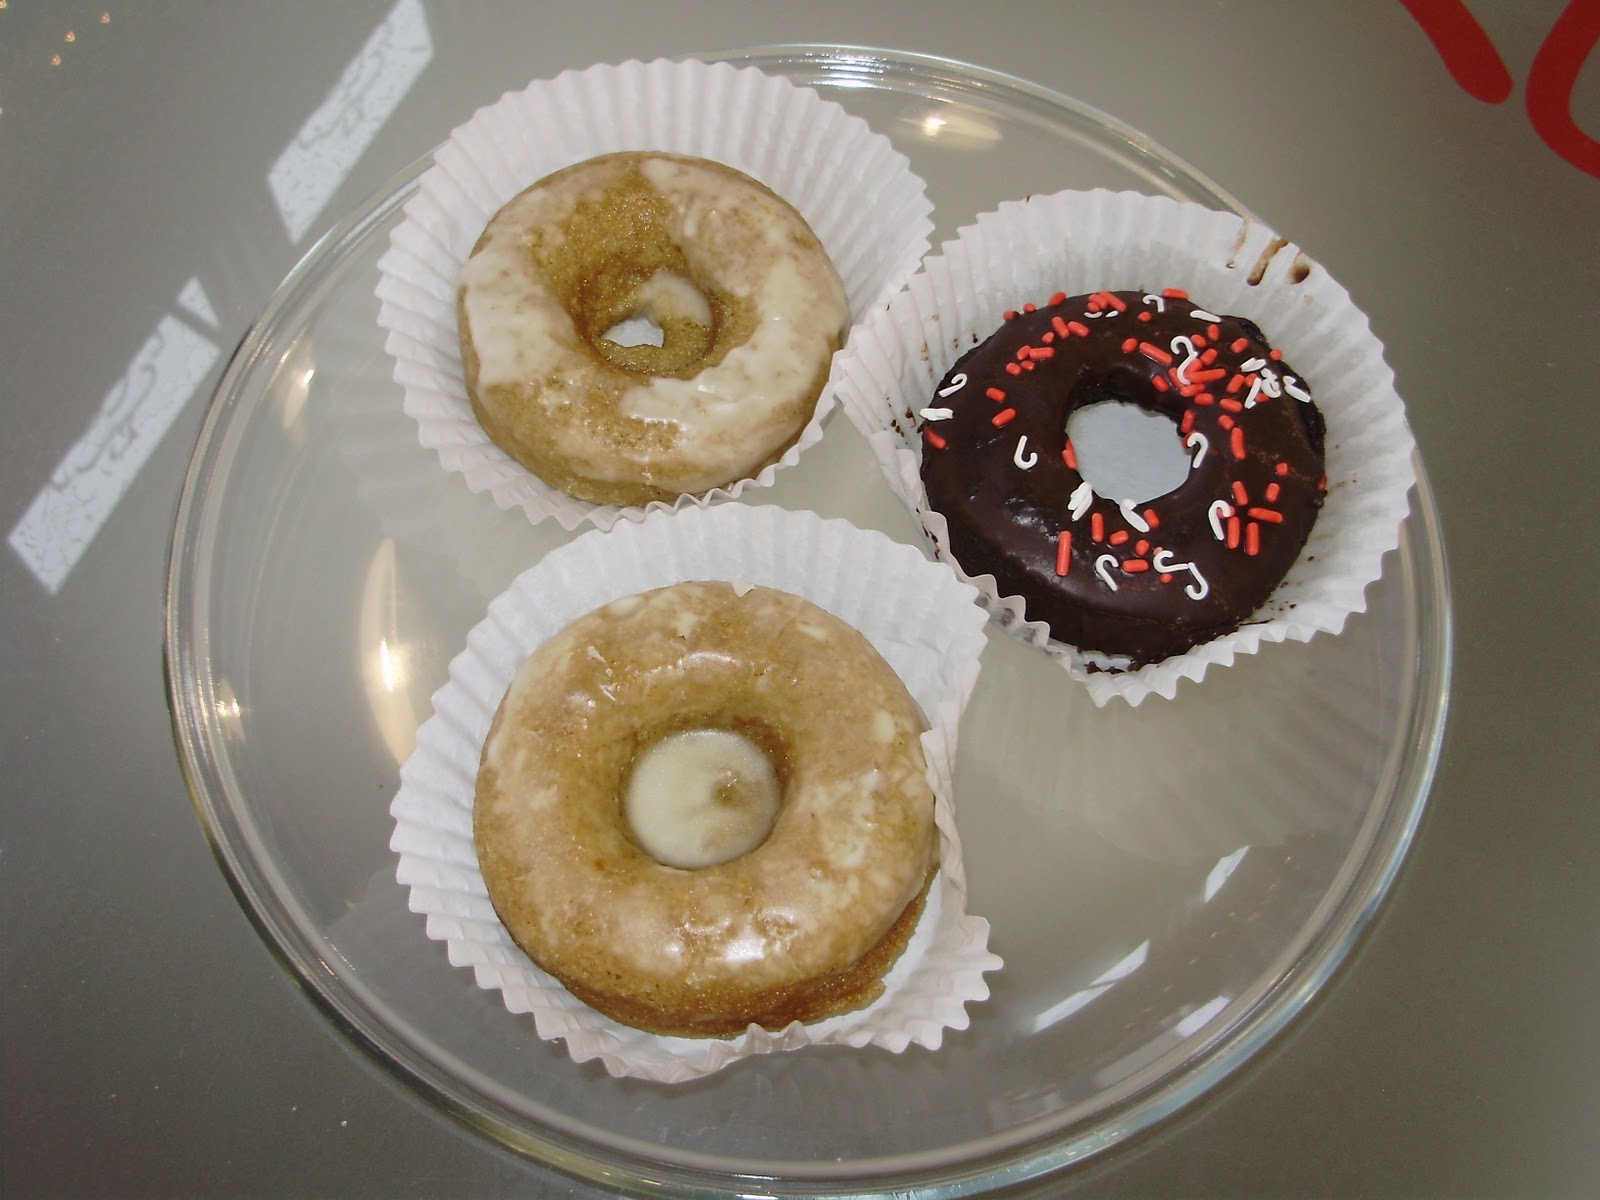
 These little doughnuts were delicious.

This cinnamon roll was huge; I split it with The Man. I never expected to be eating a cream-cheese frosted cinnamon roll again, and I could not tell that it was vegan or GF! Saturdays are cinnamon roll day at the bakery.

There were 8 kinds of "milk" for the coffee, only two of which contained any dairy. This was fantastic!

I am very happy that this business has opened, and I will most assuredly be visiting again in the near future. If you live near McMinnville you should try this place, even if you don't have any allergies.  


Saturday, November 19, 2011

Quinoa Tabouli


Here is a dish which can be the main part of a meal or a side dish, and it is friendly to most of the special diets. It is gluten-free, dairy-free, sugar-free, vegan, can be made nut-free by skipping the garnish, and it has lots of vegetables. Basically, it is awesome. And good for you.

Quinoa Tabouli 

Adapted from this recipe

1 cup quinoa
2 cups water or broth
1/2 of a yellow onion, diced
1-2 cloves garlic, minced
1 stalk of celery, diced
1 half of a cucumber, peeled, seeded, and chopped
1/4 cup lemon juice
3 Tbs olive oil
1 1/2 tsp Italian seasoning
1 1/2 tsp dried oregano or basil
salt and pepper to taste

chopped almonds to garnish, if desired

Rinse the quinoa in a sieve for a minute. This gets rid of the bitter taste from the quinoa. Put the quinoa and water or broth in a pan, and bring to a boil. Reduce heat and cook until the quinoa is done, about twenty minutes. 

Meanwhile, chop and peel vegetables as required. If you do not like the flavor of raw onion, sautee it in olive oil over medium heat for ~5 minutes, I did. 

When the quinoa is done, mix in the vegetables, oil, lemon juice and spices. Garnish with nuts if you so desire.

Serves four.

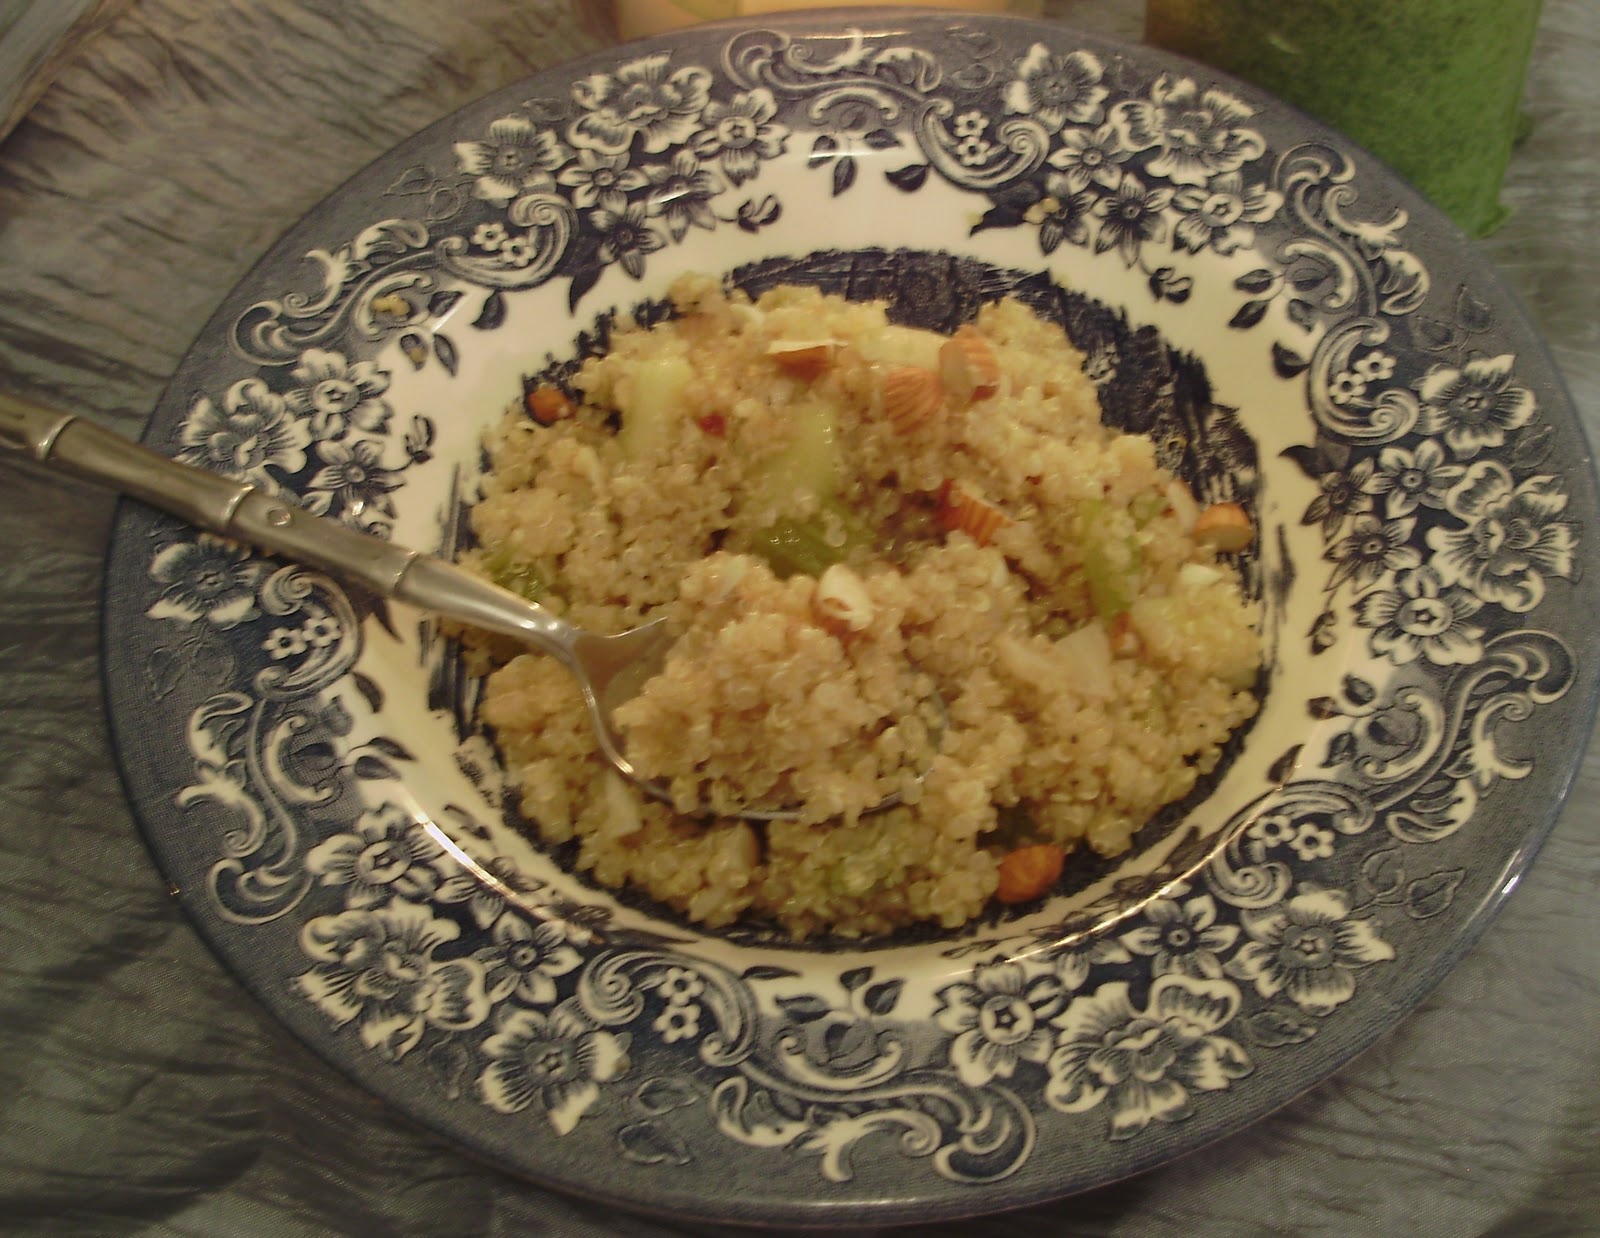
If I'd had fresh mint or basil and tomatoes I totally would have added them! It is good warm or cold. 


Tuesday, November 8, 2011

Toasted squash seeds

On the left are acorn squash seeds. On the right are pumpkin seeds. Both are amazing.

I made some squash for dinner the other night, and pondered at the seeds as I cleaned it out.

“Gosh” you must be thinking, “Is this the gluten-free radical or the squash-radical?” I have been posting about squash a lot. But, dear reader, squash is wonderful. And good for you. It is like some sort of miracle food.

So are the seeds. Pepitas, or roasted pumpkin seeds, have lots of fiber and vegan protein. When I made a jack-o-lantern of sorts on Halloween, I made pepitas following this tutorial, so as to not waste the deliciousness. I tossed them in olive oil, salt, and Italian seasoning. They were amazing.

So when I was cutting open an acorn squash that same night I wondered, why don't we eat seeds from other squash besides pumpkin?

That is why I ended up roasting squash seeds.

I started followed the pepita tutorial from Pioneer Woman (basically how to clean and dry the seeds), but made changes. With the squash, I tossed the seeds in melted butter, brown sugar, cinnamon, and a little salt. I roasted them for about 8 minutes at 400, which was a little too hot, but I didn't want to wait to remove dinner from the oven. You can make these at the same time you are making the actual squash!

These were really good. I don't plan on wasting squash seeds again.


 Pumpkin innards

Italian-seasoned pepitas

 With the squash seeds, I dumped a couple spoonfuls of brown sugar, a little salt, and some cinnamon on top of the cleaned and dried seeds.

Then pour on about two melted tablespoons of butter. To make it vegan, use coconut oil or vegan "butter."

I mixed everything together on the parchment paper with my hands.

After baking.

So tasty!

Wednesday, October 19, 2011

Curried Pumpkin Soup

A wonderful, seasonal soup.

I love pumpkin-flavored everything. Normally this time of year, I would be getting pumpkin-spice lattes, pumpkin bread and muffins, and anything else pumpkin-flavored at the store or coffee-shop.

But this is my first fall with food allergies. And neither the bread nor the lattes are necessarily safe for me to have. Last month, I drank a soy pumpkin-spiced chai tea that made me sick for a couple days. I was told later that chai sometimes has gluten in it. Today I went up to the counter at Starbucks and asked if there was gluten in their pumpkin spice flavor. Thankfully, the barista knew that there was, so I did not order that. My fall is not ruined by the lack of pumpkin spice, however!

I made a big batch of pumpkin puree (following this tutorial) and with it I have been making my own pumpkin baked goods. The best thing I've made so far, though, is curried pumpkin soup. It is delicious, filling, and just happens to be gluten free and vegan (unless you use chicken broth). It has just the right touch of coconut and curry flavors. My squash-ambivalent spouse liked it a lot, too. I consider that a success!


Curried Pumpkin Soup

2 Tbs olive oil
3-4 peeled garlic cloves
1 medium carrot
1 medium yellow onion
2 cups broth or water (chicken is good, use vegetable to make it vegan)
1 pound pumpkin puree (a 15-ounce can of puree is fine)
½ can of coconut milk
1 ½ tsp curry powder
½ tsp salt
½ tsp black pepper
a sprinkle each of nutmeg and cinnamon

Heat the olive oil at medium in a saucepan. Roughly chop the garlic, and saute in the oil for about three minutes. 
Briefly saute the garlic

Give the onion and carrot a rough chop, and add them to the saucepan. 

Carrots and onions

Stir the vegetables for about a minute, then add the broth (or water) to the pan. Bring it to a boil on high heat, then reduce heat to medium. Simmer the broth for 20-30 minutes, until the onion and carrot are soft.

Turn off the heat, and let the pan cool at least five minutes. Add the vegetables and broth to a blender, but avoid filling the blender more than half full. You may need to do this in batches. If you are using homemade pumpkin puree and you have not previously run it through a food processor, add it to the blender too. Blend the contents until the soup is as smooth as you prefer.

This was probably a little too full, as I have heard that blending hot food can cause explosions if the blender if full. That is one reason to let the soup cool a bit.

Pour the blender contents back into the saucepan. If you have a compulsion not to waste the food on the sides of cans, blenders, etc. like I do, swish a little bit of water around the blender to help remove the pureed vegetables and pour it into the saucepan.

Add the coconut milk and spices to the saucepan. Heat over medium for 10-15 minutes to allow the flavors to mingle. You may want to add a little bit of water to the soup if it is too thick at this point.

Mixing in the coconut milk. You can use lite coconut milk if you are worried about calories.


 I had to add probably a half cup of water to make it my desired consistency.


It is a delicious soup. Make it now!

Saturday, May 28, 2011

A woodlander's vegetable pasty

Edit (10/2/11): This post, and all of the ones before it, were written prior to my diagnoses of having food intolerance/allergies. This and many of the other recipes do contain gluten and dairy. Be careful when browsing the other entries

This is the second post in a series. See this entry for an explanation behind these recipes.

A pasty is made up of a filling of meat and/or vegetables, enclosed in a case of pastry. They are a good way to make food more portable, but are also quite delicious as a feature of a sit-down meal. Pasties also are mentioned often in the Redwall books.
From The Outcast of Redwall:

I'd like a beaker of strawberry cordial and a big pastie, a mushroom, potato, and onion one; after that I think I'd go for some hot apple-and-blackberry crumble, with sweet white arrowroot sauce poured all over it.”

Vegetable pasties also make frequent appearances at feasts, or in heroes' haversacks when going on quests.

This is what I think a Woodlander's vegetable pasty might be like.

-->
Woodland Vegetable Pasties

¼ c lentils
1 chopped yellow onion
2 minced garlic cloves
2 Tbs olive oil
1 chopped carrot
1 chopped stalk of celery
1 chopped portabella mushroom
½ tsp salt
2 Tbs water
2 tsp flour or cornstarch
sprig of parsley, minced
sprig of rosemary, minced

Pie dough (can purchase, but I used ½ of this recipe, and Deb's recipe and methods are foolproof)
Cook lentils in about ¾ cup of water for 25-30 minutes.
Meanwhile, fry the chopped onion and minced garlic in 2 Tbs of olive oil, until the onions are translucent.
Chop the carrot and celery in the meantime. Add these to the frying pan and sautee for 5-10 minutes. Add the chopped mushroom and salt to the pan. Sautee for another five minutes, then turn off the heat.

Combine the lentils and vegetable mix into a bowl. Once the mixture has cooled somewhat, add 2 Tbs water, 2 tsp flour, parsley and rosemary and mix together thoroughly.
Preheat oven to 400 degrees F.
Roll the pie dough into four or six circles, depending on how large you want your pasty. Place the filling on one side of the circle (2-4 Tbs of filling), then fold the dough over the filling, pressing the edges together. Flatten the edges of the pasty with the tines of a fork to seal. Prick the dough several times with fork tines in order to allow steam to escape.

Cook the pasties for 20-25 minutes, the crust should be golden brown.

I had enough dough for four pasties, but enough leftover filling that I probably could have made six. One of these with salad was enough for my dinner.

Chop a carrot and some celery into small pieces
Sautee onions and garlic in oil until translucent.

Add carrot and celery and cook for an other 5-10 minutes.

Add the chopped portabella mushroom to the pan and sautee another 5 minutes.


These are cooked lentils
Mix your cooked lentils with the vegetable mix, along with a little water, the herbs, and some flour to thicken the mixture.

Put some filling on the circle of dough. My circles were not perfect.


Fold the circle over and crimp the edges together to seal in the filling.

Bake for 20-25 minutes at 400 F. Some egg wash would have made these prettier, but I didn't think of it until later.
Dinner!