Showing posts with label dinner. Show all posts

Saturday, November 14, 2015

Smitten Kitchen's Warm Potato Salad

The sun is setting at 5 PM now, so getting photos of my dinner that look nice is hard!

When I first saw Smitten Kitchen's recipe for potatoes with soft eggs and bacon vinaigrette, I knew I had to make it immediately, as it was a perfect combination of things that I love (potatoes! bacon! vinaigrette! soft eggs! some greens to make it healthy!) I made it for dinner the next night even though I didn't have all of the right ingredients on hand, and it is such a well-written formula that tweaking it to use slightly different ingredients still yields a delicious warm potato salad.

So! I have made this half a dozen times since Deb posted the recipe, and have figured out that I prefer this meal with poached rather than soft-boiled eggs (I find peeling soft eggs without crushing them to be rather difficult, alas), that it works better with greasier bacon so that there is sufficient bacon grease for the vinaigrette, that it is just fine without blue cheese, and that boxed salad greens work very well when your local grocery doesn't stock frisee.

Though I tend to make a couple ingredient changes from the original, I am just posting this as a recommended recipe, rather than posting a recipe here, because Deb's recipes are always so beautifully done and well-tested. You should make this, it is delicious and gluten-free, and by skipping the cheese it is dairy-free too!

Friday, January 10, 2014

Sweet potato and black bean enchilladas

Good heavens, I haven't posted since May! Last time I mentioned that I hadn't officially made it into my graduate program yet (most molecular biology PhDprograms have you do rotations in 3+ labs, then you choose the lab you want to spend the next few years of your life in. Some programs, including mine, also have a written exam at the end of the first year, which is important to pass before you are officially accepted) but shortly after the last post it became official.

 So I have been in a lab for the last 6ish months, working on my dissertation research, which is awesome! But though things have slowed down from my first year (I often only work 60 hours a week now! You may roll your eyes at the "only" but I was doing 12 credits of grad work last spring, and studying takes a while)  grad school is really quite time consuming. And I try to find time for my spouse, and occasionally to be social, and to go to the gym every now and again, so I don't exactly spend the kind of time on fun baking as I did when I was unemployed in 2011. But the Man and I try to trade off who makes dinner each night, so I am still doing a decent bit of cooking, it just isn't always very creative.

However, these enchiladas are really quite low-effort for how good they taste, and they are quite healthy as well. I have made these enchiladas several times now, including for vegetarian guests one time, and they liked them quite a bit. This is very much inspired by a sweet potato burrito served at the vegetarian restaurant in town (called Sweet Melissa's, I highly recommend it if you are ever in Southeastern Wyoming) which is amazing, but sometimes I am just too tired to go out when I want enchiladas. So this is how I make them! They are vegetarian (except that I use a bit of chicken broth when it is just us omnivores [that is what I always have open in the fridge] but you can use vegetable broth or water) and pretty easy to make vegan/dairy-free, just skip the cheese!


Sweet potato and black bean enchiladas

serves about 3

1 roasted medium sweet potato
16 oz can of black beans, rinsed and drained
salt and pepper to taste
2 tablespoons gluten-free broth (I used chicken, but use vegetable to make it vegan/vegetarian) or water, optional
Gluten-free tortillas (I use the small corn tortillas from Mission)
shredded cheese, optional
16-24 oz jar of salsa verde, mild or medium
1/4 avocado, optional

Preheat oven to 400 F. line a pan with foil, and place your sweet potato in the pan. Roast until the sweet potato is soft, about an hour if it is medium sized, an hour and twenty minutes if it is big. (I like to roast several at a time and use them in recipes later in the week, cooked sweet potatoes seem to keep for a while. There are 3 in the picture but I just used 1).


Let the sweet potato cool until it is safe to handle. I like to stick sweet potatoes in the fridge. After it has cooled sufficiently, cut it in half, and then peel the skin off. At this point, if you turned off the oven (which I did, having roasted these the day before) begin preheating it to 400 F.


The skin should pull off pretty easily if the sweet potato is cooled enough, but you can use a knife to cut off any stubborn bits.


Cut the sweet potato into small cubes. It should be pretty soft, but doesn't need to be completely squishy, just make sure the middle isn't crunchy. If it is, you can cook it in the oven longer, or microwave the uncooked parts for a minute or two.


Put the cut sweet potato into a bowl, and add the rinsed black beans to the bowl. Season with salt and pepper, or other seasonings if you'd like. I add two tablespoons of broth at this point, it adds a bit more flavor, and some moisture that lets the filling stick together better, but you can skip it or use water or vegetable broth to keep it vegetarian. 


Stir everything together until the ingredients are evenly distributed.


Now you can start filling the tortillas. The little corn tortillas crack easily, so be careful when handling them. Lay out a couple tortillas in a baking dish, preferably one that is lined with foil and well-oiled. Scoop a couple spoonfuls of the sweet potato and black bean filling onto the tortillas.


I added some cheese (I can tolerate dairy quite well now! After my roughly 18 month hiatus from all dairy products except butter) but the meal is still delicious without any cheese if you don't do dairy.


Fold over each tortilla as shown below. The corn tortillas like to split apart at this stage, so be careful when folding them.


Now flip the rolled enchilada over so that the seam side is facing down.


Like so! Repeat with your other tortillas. 


Fill all the other tortillas and flip them over until you A. have decided you have enough enchiladas, B. Run out of room in the baking dish or C. have used up all of your filling.

Pour a jar of salsa verde over the enchiladas so that they are all covered in sauce. I did not take a picture because there is no way to make a pan of salsa verde look appetizing under fluorescent lighting at night. This is a 24 ounce jar, but I think you could get by with only 16 ounces if you don't like really saucy enchiladas.


I added some cheddar and mozzarella cheese. Again, this isn't necessary if you don't do dairy, but it is tasty. I find that serving Mexican-inspired food with avocado or guacamole instead of cheese is a very good substitution.


Bake at 400 F for 20-25 minutes.


I like to serve these with avocado, but skip it if you are not so inclined.


And that's it! These are easy and tasty, and pretty quick if you roast the sweet potato ahead of time. 

Sunday, April 1, 2012

Life updates and seasoned fries

Edit: I should clarify that it is a coincidence that I posted this on April Fool's day, when apparently most posts on the Internet are a joke. 

I know that the blog has been rather quiet lately. I mean, a little more than usual. This is largely because of some big decisions/events that happened in the last month. The first, which is fantastic (but not life-altering) is that I have gotten a job. Not only that, but I am thrilled to be doing data entry instead of some kind of cleaning job. I have been grateful for my various housecleaning/janitorial/room attendant jobs in the past, but scrubbing toilets gets a little old. So having this job is great. But between working full time and commuting ~45 minutes each way, I am left with very little time for experimenting with new recipes.

The other big thing from the last four weeks is much more life-altering. I have been accepted into graduate school, which is thrilling and also a little terrifying. Last month, the Man and I visited the school (University of Wyoming), and were impressed by the campus, the research, and the people. It will not be at all like living in the Willamette Valley, but I think we will like it there. Both the trip and making this decision has also contributed to our hectic schedule as of late, though.


The campus is quite pretty.

Being from Oregon, it is weird to see the quad (which they call "the Pasture") covered in snow rather than mud.

Lots of beautiful views around Laramie.


Also: snow. Lots of snow.

So we are eating a lot of simple, quick dinners. That often means a rotisserie chicken from Fred Meyer, salad, and fries.

The Man came up with with method for doing fries, and it is brilliant. Normally I dislike oven fries, but these are fantastic, and we eat them at least once a week.

Begin by purchasing a bag of frozen shoestring fries. Any brand of frozen fries is fine, but I think this works the best with the shoestring cut.

Preheat the oven to 425 F. Line a baking sheet with tinfoil if you want to have less cleanup work.

Pour out as many fries as you intend to eat onto the baking sheet. This was maybe a quarter of the bag. Drizzle 2-3 tablespoons of olive oil onto the pile of fries. Season to taste; for the amount of fries the two of us eat, I use a pinch of sea salt, a pinch of black pepper, and about a half teaspoon of Italian seasoning (I highly recommend the McCormick Grinder italian seasoning, we use it on everything).

Toss the fries until the oil and spices coat them evenly. Spread the fries out into as even a layer as possible.

Bake for 7 minutes. Remove the fries, and add more seasoning if desired. I usually do up to a teaspoon total of Italian seasoning. Toss the fries again, and bake for 6-8 more minutes, until the fries have some nice golden brown edges. It is very easy to over or undercook the fries, so keep a close eye on them towards the end.

And there you have it! An easy, really tasty, and not too-unhealthy side dish for a quick meal. Also: naturally dairy-free and gluten-free.


Fries right out of the bag.


After tossing them in oil and seasoning.


The baked fries, with my dinner.

Wednesday, December 14, 2011

Red Curry

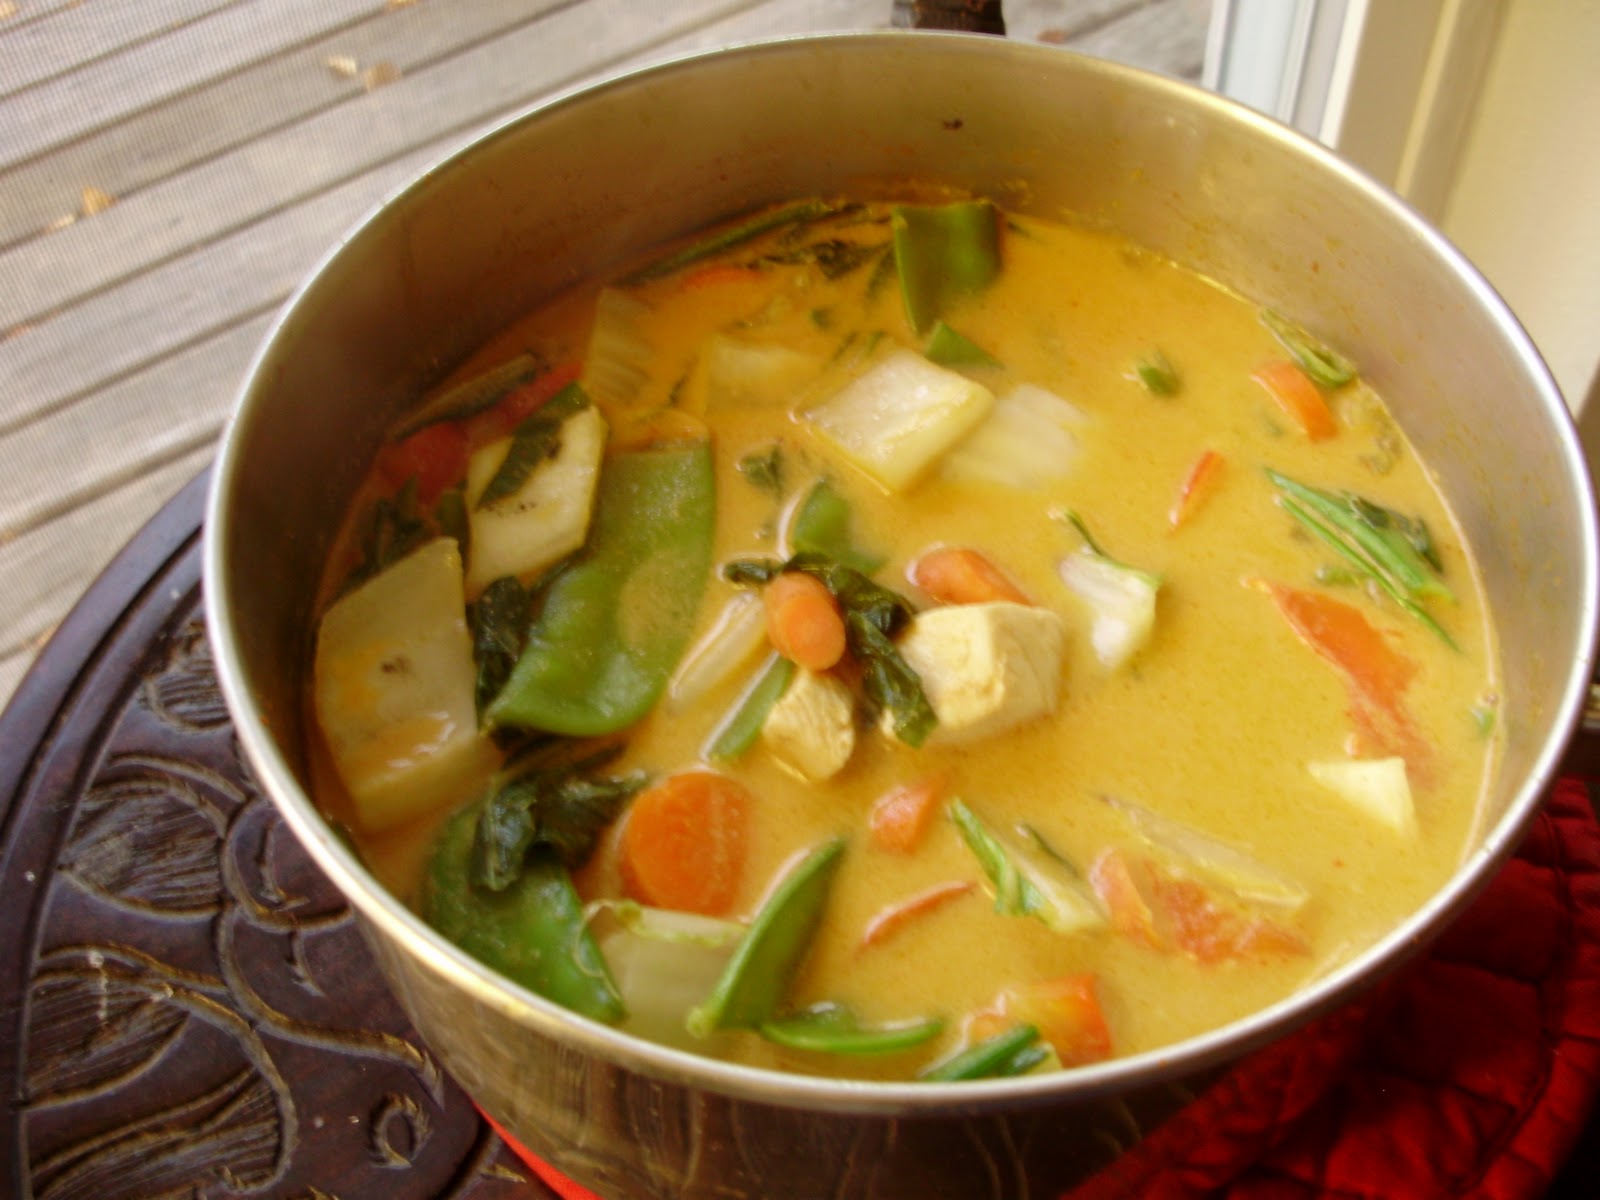
Delicious curry. Also, that table is from South Africa, which does not pertain to the Thai food. I just like the table.

Even before my GF-DF days, I really loved Thai food. I love that distinct flavor-profile of ginger, basil, lemon-grass and coconut; the mixture of savory and sweet. I have enjoyed Pad Thai and curries for a long time, perhaps influenced by the fact that my family lived in Bangkok for a while, (before I was born) and my parents used to take us out to Thai food. Now, though, I like this cuisine even better, because Thai-food places are generally already gluten and dairy-free. At the restaurant I go to, they even make my iced tea without the condensed milk in it.

I don't always feel like going out to eat in order to get my fix, though, so sometimes I make curries at home. They never seem to be as good as what you get at a restaurant, though, and I decided that maybe this was partially because I never actually follow a recipe with this kind of thing. So here is what I made for dinner recently (I can't only post recipes for baked goods, can I?) adapted from this recipe by Thai Kitchen. I tend to use a lot of their products anyway, because they are clearly labeled gluten-free. Disclaimer: Thai Kitchen doesn't know who I am, I just like their stuff.

Red Curry

1 Tbs vegetable oil
1 Tbs of GF red curry paste
1 can of coconut milk
1/2 cup chicken or beef broth
1 tsp brown sugar
1 ½ tsp GF soy sauce or fish sauce
½ tsp sirracha sauce (optional, adds some heat)

½ pound of chicken or beef, cut into ~1/2 inch pieces
½ large or 1 small red pepper, chopped into ~1/2 inch pieces
2 carrots, cut into diagonal slices
1 cup snow peas, cut in half
1 small bunch of bok choy or napa cabbage, cut into ~1 inch squares
other options: onion, Thai or regular eggplant, bamboo shoots, baby corn, whatever vegetables you like!


 Cut the meat and vegetables into the sizes indicated above, and set aside.

A whole pile of vegetables. You can make substitutions using vegetables that you like and have on hand. 

This was probably more like 1/3 pound of chicken.


Heat the oil over medium in a medium-sized stock pot. Stir the curry paste into the pan and heat for about a minute. Add the broth and coconut milk, then bring to a simmer, increasing heat to medium-high. Add the sugar and soy sauce, and stir well.


Stirring the curry paste into the hot oil. It splatters a little bit.

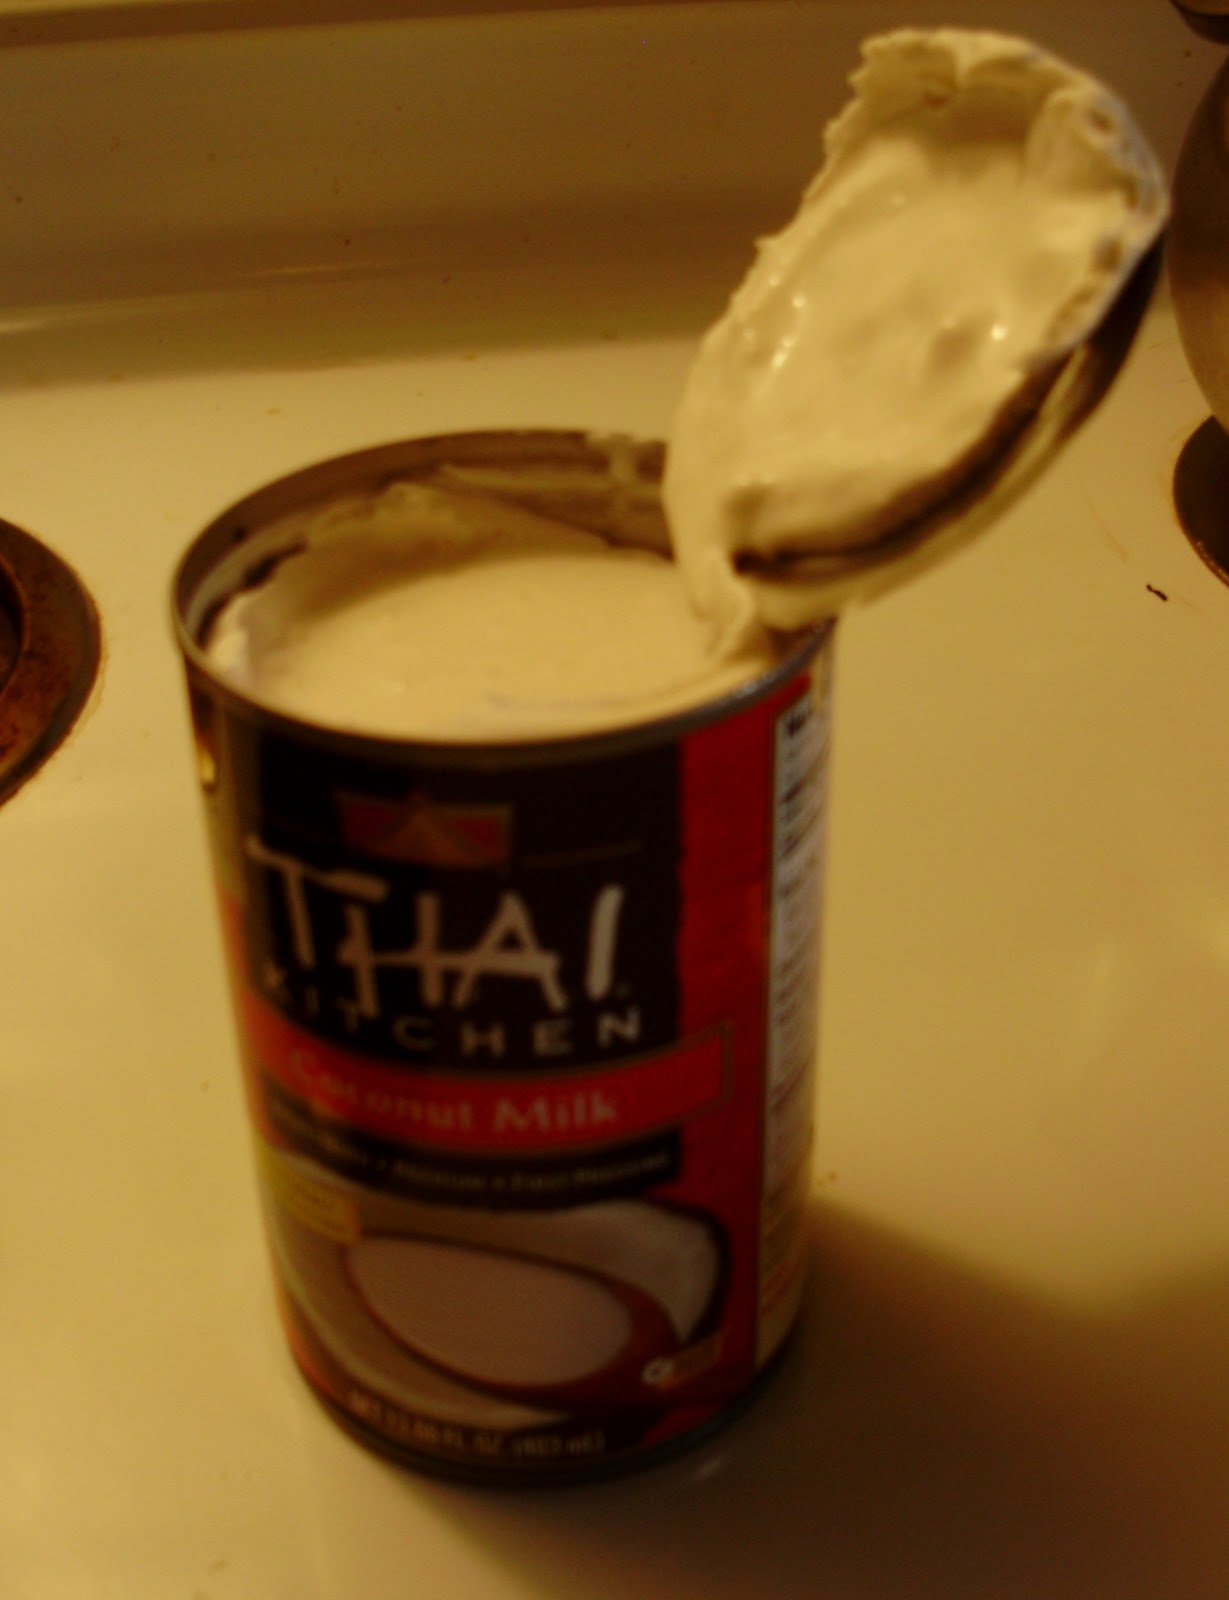
Coconut milk is amazing. If you want this to be lower calorie, you can use the lite milk, or even the coconut milk that comes in a carton. It will not be as rich, though.

Add the milk and broth. It looks a bit low here because at first I had only half of the can in the pot. Later I added the other half.


Add the meat and vegetables to the sauce, and stir periodically. The curry is done when the meat is cooked through, about 7-8 minutes of simmering.  


The pot was a little crowded.

The vegetables cook down after a few minutes.

Finished curry! Put it over rice and you have a good dinner.

Serve over rice or rice noodles. Serves 3-4.

Next time I will probably add in some basil leaves, but otherwise I really liked this!

Saturday, May 8, 2010

Pseudo-Cantonese spicy chicken soup

So even though this is a recipe that I invented by throwing things together, and indeed, change the ingredients of every time, I did the unthinkable: I measured (almost) everything. Just for you.


Almost a decade ago, now, I spent some time in China, mostly in Hong Kong. It is a beautiful city, and I enjoyed my time there. Unfortunately, due to circumstances that would take a lot of time to explain, the team I went with ate local cuisine (that is, not McDonalds or bread and fruit bought at a grocery store) maybe once or twice in almost a month. I consider this a great tragedy, as Cantonese food is delicious.

The one time I distinctly remember eating out was a little hole-in-the-wall eatery in one of the many malls. Because the menus were written in Chinese, I just ordered the first thing that didn't sound too spicy or too strange for my 12-year-old palate (pig intestines was one of the options I remember).

I ended up ordering a giant delicious bowl of soup with some kind of sausage, vegetables, and tons of thin noodles that were either mung bean threads or rice noodles. It was also way spicier then anything I eat in America (I am a total hot sauce wimp) but it was so delicious I didn't care.

This recipe was evolved out of multiple attempts to try and recreate the tasty spicy soup with noodles.

Please note that I say "pseudo-Cantonese" because lets face it, I don't know much about Chinese cuisine except that it is delicious.

Here is everything you will need. (The coffee is not a part of this cast of characters. i just have a tiny kitchen is all)

1 Qt chicken broth
1 chicken breast
1/3 package of bean threads or rice noodles (this is the one thing I did not measure. Sorry)
1/2 red bell pepper
1 carrot
3-4 mushrooms
1 tsp grated fresh ginger
2 cloves garlic, minced
2 tablespoons sweet chili sauce
1-2 tsp sirracha or other hot chili sauce (be careful, this stuff burns!)
1 tsp soy sauce

Begin by soaking the bean threads or rice noodles in a bowl of cold water. Set aside.

Heat a quart of chicken (or whatever-flavored) broth in a saucepan over high. In the mean time, cut all the veggies into strips like these:

Normally I use about a quarter of a cabbage instead of the 1/2 bell pepper, but I didn't want to make another grocery trip. Celery is also good.

Put the veggies into the boiling broth, and allow to simmer for 5 minutes.
Add the sweet chili sauce, sirracha, ginger, garlic, and soy sauce.

Meanwhile, slice the chicken into thin strips like this. Beef is also good, and I bet tofu would be too.
Put the meat into the pot and stir. The liquid should be hot enough that the chicken will be cooked in a minute or two.

The purpose of cutting the meat and the veggies so thin is twofold: they will cok very quickly, and it's easier to eat with chopsticks this way.

When the vegetables are soft and the meat is cooked (6-8 minutes of total cooking time if you are more coordinated then me) add the drained noodles, and allow to heat for 1-2 minutes.

Then serve and eat with chopsticks, it somehow tastes better that way!

Serves three.