Showing posts with label egg-free. Show all posts

Sunday, June 10, 2012

Baking Powder Biscuits, gluten-free and vegan


I have been a bit remiss in blogging. It may have something to do with the fact that we have been going places like this:

Crater Lake, which is still very snowy in June. And cold.

Or doing things like this:


Cannon Beach! You can rent a bike and drive on the beach and it is fun! Also, this was the first time I'd been on a bike in years.

...every weekend. The Man and I have been taking a somewhat whirl-wind tour of Things We Love or Have Always Wanted to Do in Oregon Before the Epic Wyoming Move. So of course that means visiting the coast and as many of the national parks as we can get to before moving day arrives.

While eating breakfast on one of these weekend trips, The Man and I both found ourselves lamenting that there isn't much in the way of gluten-free breakfasts to be had at restaurants (he can eat gluten, but often feels sad for me that I can't just order pancakes when we go out). Usually you can have some kind of omelet or potatoes at a restaurant, but we both were thinking how nice it would be to have a good GF biscuit recipe that either of us could just whip up at home.

That got me thinking about weekend breakfasts at my house growing up. My Dad would always (and still does!) make breakfast on Sunday morning. He'd get up at what seemed an early time to me (but I often get up at 5 for my job now, so seven is sleeping in. I must finally be a “real” adult.) and start making eggs and coffee. And there were almost always biscuits. It was a pretty simple recipe, half bisquick, half whole-wheat flour, and all of the add-ins that the bisquick box said to do. I have fond memories of being eight or so, and learning how to shape the biscuits. We don't cut and roll biscuits in my family of origin, you take a wad of dough, roll it into a ball, and stick it on the cookie sheet. They were very, very tasty. In eighth grade, I started making baking powder biscuits from scratch so often that I had the recipe memorized for a while.

Biscuit dough is so simple, surely it must be easy to make gluten-free, I thought. So I took a look in an Amish cookbook I have, and made a couple ingredient swaps to take out dairy and gluten. The result? Tasty, fluffy biscuits that the Man and I happily ate for lunch. They don't quite taste as whole-grain as the biscuits my Dad makes, nor as light as the white-flour ones I used to make, but they are a happy compromise, without the gluten and dairy.

Baking Powder Biscuits
Adapted from “From Amish and Mennonite Kitchens,” by Phyllis Pellman Good and Rachel Thomas Pellman

1 cup coconut or alternate milk of choice
2 tsp lemon juice
2 cups gluten-free flour mix*
2 tsp baking powder
½ tsp xanthan gum
¼ tsp sea salt
3 Tbs Shortening (I used Spectrum)


Preheat oven to 450. Combine the milk with the lemon juice, and set aside for at least five minutes**. Meanwhile, whisk together the dry ingredients. This helps make sure the ingredients are evenly distributed. Add the shortening, and blend with a fork or pastry blender until the mixture becomes fine (1/3 inch or less) crumbs. Add the milk-lemon juice mixture about a quarter cup at a time, stirring the dough after each addition. The dough should be slightly wet, so that it clumps together, but not as wet as muffin batter.

Take about 2 tablespoon of dough at a time, roll into a ball with your hands, and press onto a cookie sheet. Flatten the ball slightly. Do this until you have used up all of the dough. Alternatively, roll out the dough to ½ inch and cut biscuits out.

Bake for 10 to 12 minutes, until lightly browned. Makes about 10 biscuits.

Yaaaaay!


They were a little more crumbly then normal wheat biscuits, but still held up well to normal toppings like jam.

Incidentally, it has been just over one year since I got my gluten-intolerant diagnosis. I thought about doing some kind of big dramatic blog about it, but I haven't the extra time between my job and getting ready to move. I just wanted to make a note of it, and encourage any people who are newly gluten-free. The adjustment does suck a lot at the beginning, but after a year of this diet, I feel so much better, and it is pretty easy and natural to cook for myself. Hurrah for better health!


* My current favorite flour mix is 2 parts sorghum flour : 1 part millet flour : 1 part brown rice. I keep it in a big container. I think this would work well with part oat, or quinoa, or oat flour, but to make biscuits exactly like these, use 1 cup sorghum, ½ cup millet, and ½ cup brown rice flours.

** Adding lemon juice to milk (either an alternate milk or a dairy milk) makes a sort of cheaters buttermilk. Do this anytime you need a non-dairy buttermilk in a recipe, or if you can have dairy, but don't feel like running to the store just for buttermilk.


Sunday, January 29, 2012

Delicious Chocolate and Blood Orange Cupcakes

(Which I was going to call “Gluten-free vegan chocolate cupcakes with a customization option which I made with blood oranges” but I realized that this was a rather long-winded way of titling something which, quite simply, was delicious).


These pictures are not the greatest; I was in a hurry to finish baking before a meeting.

A lot of people in my life have food allergies/intolerances now, and so it is pretty common to have long email threads before a gathering to see who can eat what, and what people should bring that everyone can eat. This is very confusing for folks who do not live with these dietary issues, particularly when it comes to baking. So, usually I am asked to handle the desert. Which I am happy to do!

Most recently, we needed to accommodate egg, dairy, and gluten issues, so the brownies that I normally make were out. I had made these mocha cupcakes before, and they were delicious, but there were young kids at the gathering, and I didn't think their parents would appreciate a caffeine-laden desert. But I liked the idea of cupcakes (according to The Internet, cupcakes are a culinary trend that is becoming unfashionable) (I think that is ridiculous, cupcakes have always been a mainstay of birthday parties and gatherings where a layer cake is impractical) (plus they are super-kid friendly and seem to make a bit less of a mess) (good heavens this is a lot of parentheticals) so I tweaked the already-fabulous recipe into something that would work for me.

And thus we have this recipe for a plain chocolate cupcake, which is also vegan and gluten-free.

Chocolate cupcakes

Adapted from the Gluten-Free Goddess

Dry ingredients

¾ cup sorghum or brown rice flour
¾ cup cornstarch
½ cup cocoa powder
1 cup granulated sugar
½ rounded tsp sea salt
1 tsp baking soda
1 tsp baking powder
1 tsp xanthan gum

Other ingredients
2 Tbs ground flax seed + 4 Tbs warm water (you can use 2 eggs instead if you prefer)
1 cup non-dairy milk of choice
3 Tbs light-tasting oil
½ tsp vinegar
1 tsp vanilla extract

Preheat oven to 350 F.

Combine the flax with the warm water in a small bowl, and set aside, allowing it to sit for at least five minutes. This is your “egg.”

Combine the dry ingredients in a medium sized bowl, and whisk together to incorporate.

Add in the other ingredients, including the flax “egg,” and mix for 2-3 minutes. This can be done in a stand mixer or with a regular spoon or whisk if you don't mind a work-out. The batter will be very thick, and somewhat stringy.

Fill muffin tins (lined with cupcake liners) about 2/3 full of batter. It may be necessary to smooth out the tops of each tin of batter with the back of a spoon in order to get a smooth top after baking.

Bake cupcakes for 20 minutes.

Makes 1 dozen cupcakes.

Remove from the tin to a wire rack to cool, or else the cupcakes become slightly soggy.

Wait until the cupcakes have completely cooled prior to frosting.

Frosting:

2 cups powdered sugar
2-4 Tbs shortening (I used Spectrum)
¼ cup cocoa powder
1 tsp vanilla extract
2-3 Tbs non-dairy milk

Combine the first four ingredients, then add “milk” one tablespoon at a time. Blend with a stand or hand mixer until fluffy. Add more liquid if necessary. Pipe or spread onto cooled cupcakes.

Unfrosted chocolate cupcakes. Gluten-free baked goods are often a little lumpy if you don't smooth out the batter.

Variation:

After making these, I decided to try to make another variety. I suspect you could make infinite variations to this recipe if you so desired. Basically, you change what spices or extracts you add to the batter, replace cocoa powder with cornstarch if the cupcake is non-chocolate, and use different liquids for the “milk.” I made a blood orange cupcake, and it was fantastic. I used these ingredients, following the instructions above. Please experiment with making your own changes to the recipe, until you find something that you really like! The recipe seems to be pretty forgiving.

Blood orange cupcake variation

Dry ingredients

¾ cup sorghum flour
1 ¼ cup cornstarch
1 cup sugar
½ rounded tsp sea salt
1 tsp baking soda
1 tsp baking powder
1 tsp xanthan gum
half the zest of a blood orange
½ tsp nutmeg

2 Tbs flax + 4 Tbs warm water
3 Tbs oil
½ cup blood orange juice
½ cup coconut milk
2 tsp lemon juice

Frosting:

2 cups powdered sugar
2-4 Tbs shortening
half the zest of a blood orange
~2 Tbs blood orange juice


Unfrosted cupcakes. These were pretty tasty plain.

Pretty pink frosting.


So try either variation, or play with the ingredients and make your own! Cupcakes should be fun as well as tasty.


Sunday, December 18, 2011

Almond Shortbread


It is Christmas in a few days, and therefore I wanted some delicious cookies. The best cookie ever in my opinion is a delicious butter shortbread cookie. We used to buy Walker's shortbread a couple of times each winter as a special treat; at the time six dollars seemed like an exorbitant price for a box of cookies (but is pretty typical for GF cookies). Much of the beauty of shortbread is in its simplicity: just flour, butter, sugar, and a little vanilla and salt. When I tried to de-glutenize (I have decided that this should be a word) my original shortbread recipe, I got a hideous melted mess. I tried again, with a recipe adapted from this, and had success. In time for Christmas.

Almond Shortbread

Dry ingredients
½ c sorghum flour (66 g)
¼ c almond meal (30 g)
¼ c cornstarch (33 g)
¼ c brown rice flour (33 g)
¼ tsp sea salt (use 1/8 tsp if your butter is salted)
1/8 tsp xanthan gum
1/8 tsp baking powder

½ cup butter (1 stick)
1/3 cup granulated sugar (70 g)
½ tsp vanilla

Preheat oven to 300 degrees F. In a medium bowl, whisk together all of the dry ingredients. In a separate, larger bowl, cream butter, sugar, and vanilla together with an electric mixer (or use a stand mixer). Don't overmix the butter and sugar. Add the flour mixture to the bowl about ½ cup at a time, blending well with the mixer each time. Eventually, you will end up with a crumbly mixture of dough.


Crumbly dough.

You can combine the dough together, roll it out then chill it, and use cookie cutters, but I thought a roll of cookies would be easier. To do this, I piled the dough-crumbs on a piece of parchment paper, and used the paper to help roll all of the crumbs together in a cohesive lump. Squish the dough into a fairly-even log shape.  


Squish the crumbs together using the parchment paper.

Log of dough.

Once you are happy with the shape, wrap it up and chill in the fridge for at least 15 minutes Edit 7/14/12: chill at least 30 minutes to avoid a melted cookie mess. Use a sharp knife to cut the dough into ¼ inch rounds. Carefully lay these on a baking sheet lines with a silpat or parchment paper.


Pierce the cookies with a fork several times, this will allow steam to escape, which makes for a crisper shortbread. Edit 7/14/12: Chill the cookie sheet and cookies for another 15-30 minutes, this will help prevent spreading cookies.

Bake for 25-35 minutes, until lightly golden brown. Err on the side of an oven that is too cool rather than too hot if you have an unreliable oven like I do; if the oven is too hot, these melt and spread and fall apart into crumbs.  


This was a very tasty cookie that reminds me a lot of Walker's shortbread that I used to love.


Ruby Cakes Review

Dear readers who don't live in Oregon: feel free to skip this post, as it is about a local business.


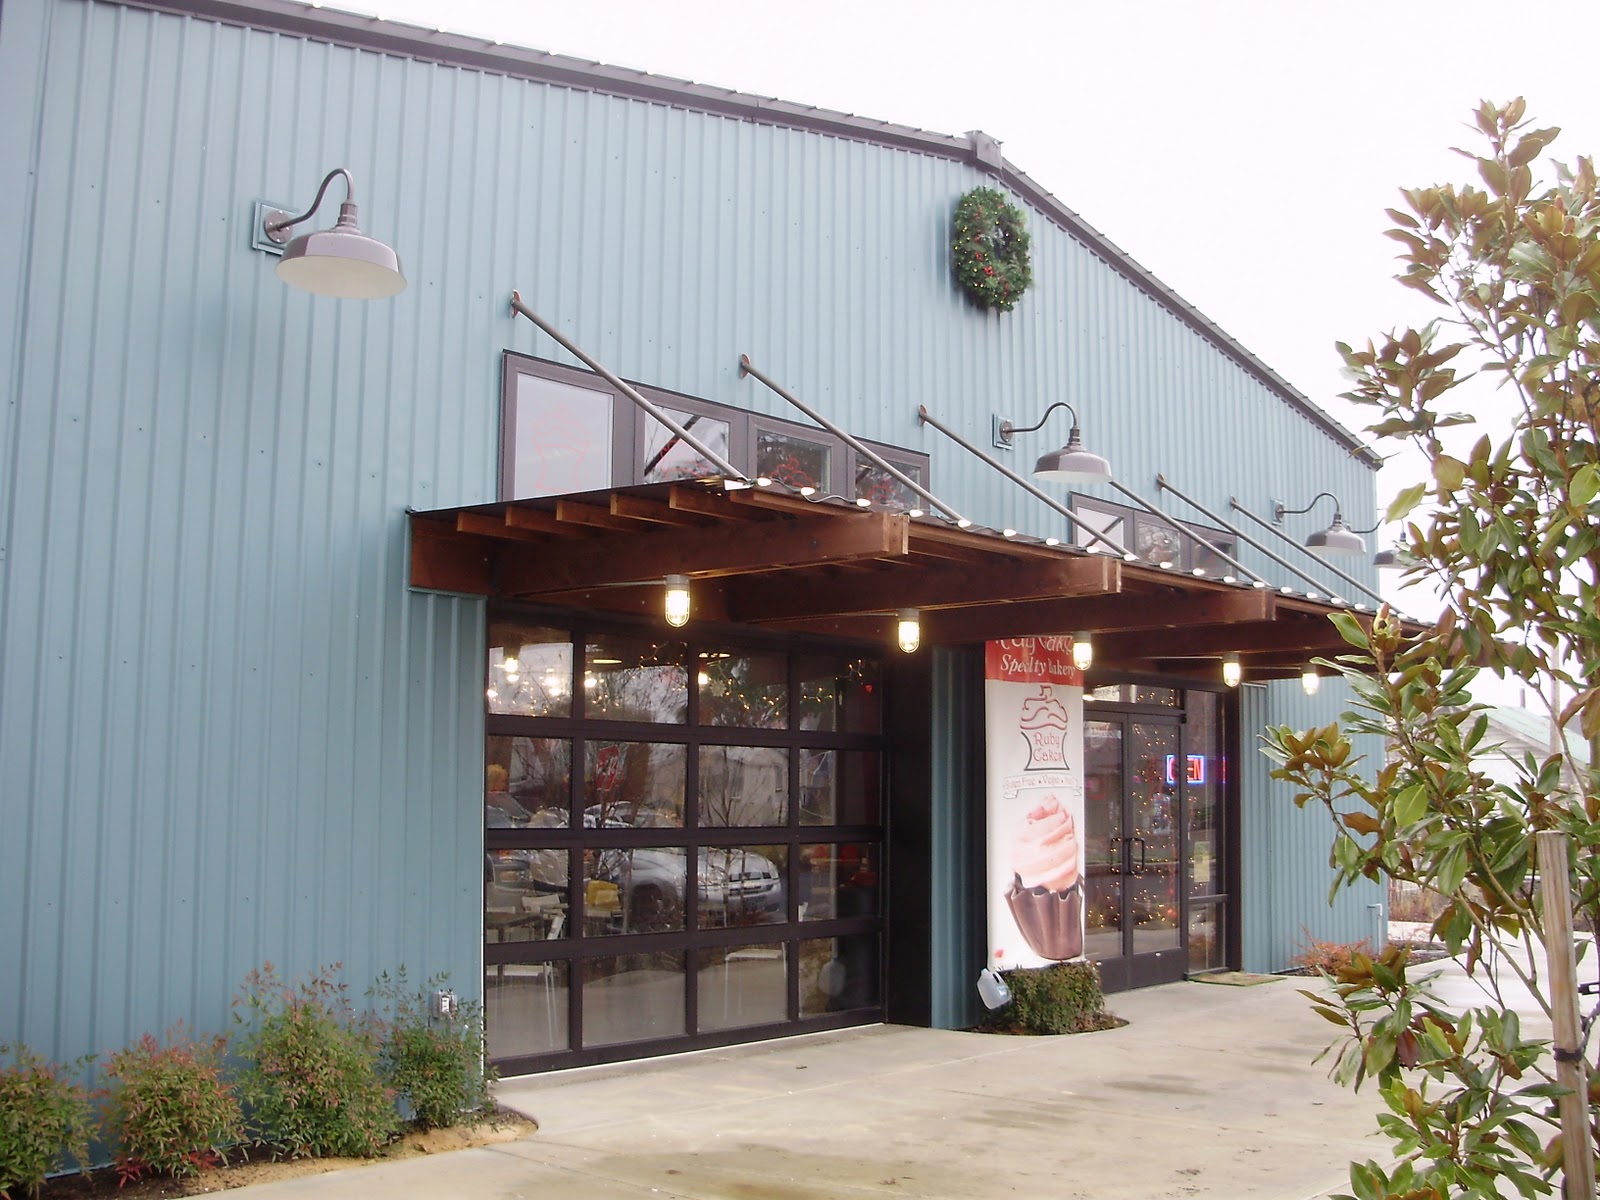
This weekend, The Man and I tried out a new bakery in the area. That sounds a bit mundane, until it is pointed out that the bakery mentioned is a dedicated gluten-free, nut-free, vegan place. “Wait, so I can eat every single thing?” was my reaction when I first heard that this place was opening.

Ruby Cakes in McMinnville was a fantastic experience. They had quite a variety of baked goods, and each thing that we tried was amazing. Moreover, there was something wonderful about knowing that the treats were perfectly safe for my food intolerances, as well as many other people in my life. The staff were friendly and knowledgeable, and genuinely interested in providing the community with allergen-free treats. I was also pleased that the prices were quite reasonable; comparable to what I have paid for things at glutenous bakeries.


 These little doughnuts were delicious.

This cinnamon roll was huge; I split it with The Man. I never expected to be eating a cream-cheese frosted cinnamon roll again, and I could not tell that it was vegan or GF! Saturdays are cinnamon roll day at the bakery.

There were 8 kinds of "milk" for the coffee, only two of which contained any dairy. This was fantastic!

I am very happy that this business has opened, and I will most assuredly be visiting again in the near future. If you live near McMinnville you should try this place, even if you don't have any allergies.  


Wednesday, December 14, 2011

Red Curry

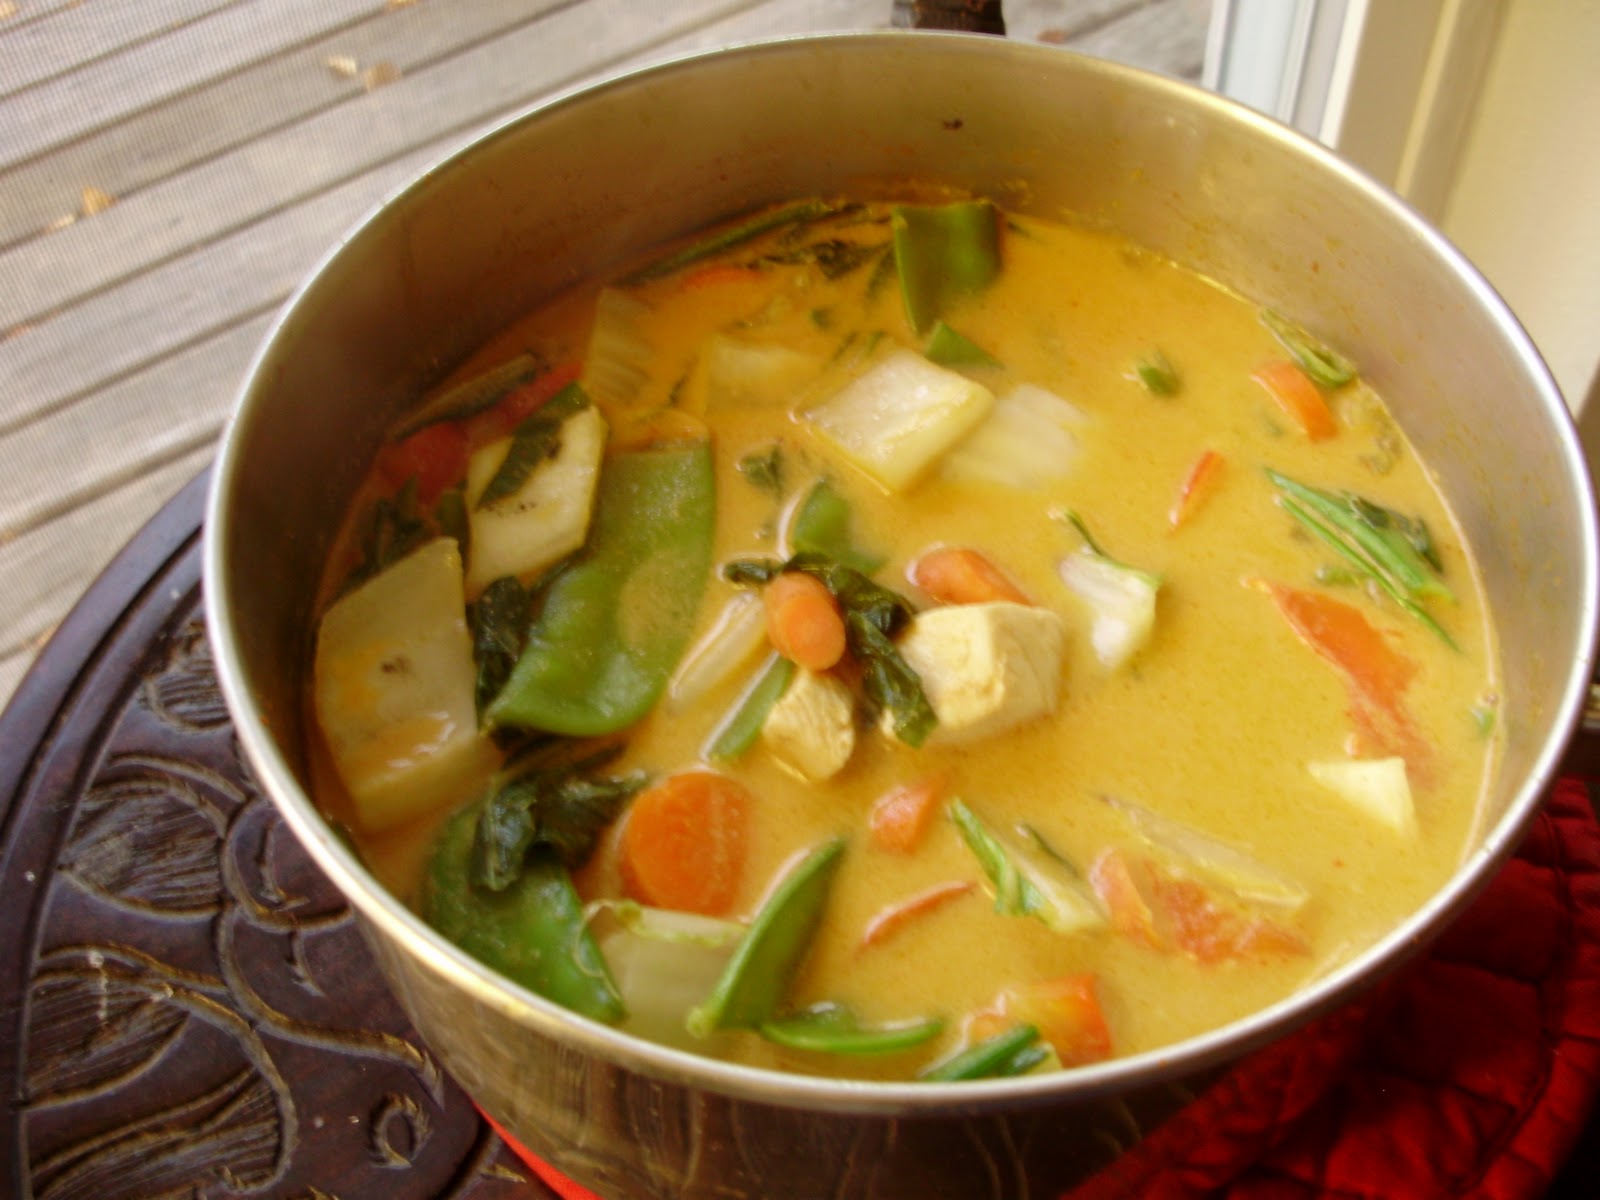
Delicious curry. Also, that table is from South Africa, which does not pertain to the Thai food. I just like the table.

Even before my GF-DF days, I really loved Thai food. I love that distinct flavor-profile of ginger, basil, lemon-grass and coconut; the mixture of savory and sweet. I have enjoyed Pad Thai and curries for a long time, perhaps influenced by the fact that my family lived in Bangkok for a while, (before I was born) and my parents used to take us out to Thai food. Now, though, I like this cuisine even better, because Thai-food places are generally already gluten and dairy-free. At the restaurant I go to, they even make my iced tea without the condensed milk in it.

I don't always feel like going out to eat in order to get my fix, though, so sometimes I make curries at home. They never seem to be as good as what you get at a restaurant, though, and I decided that maybe this was partially because I never actually follow a recipe with this kind of thing. So here is what I made for dinner recently (I can't only post recipes for baked goods, can I?) adapted from this recipe by Thai Kitchen. I tend to use a lot of their products anyway, because they are clearly labeled gluten-free. Disclaimer: Thai Kitchen doesn't know who I am, I just like their stuff.

Red Curry

1 Tbs vegetable oil
1 Tbs of GF red curry paste
1 can of coconut milk
1/2 cup chicken or beef broth
1 tsp brown sugar
1 ½ tsp GF soy sauce or fish sauce
½ tsp sirracha sauce (optional, adds some heat)

½ pound of chicken or beef, cut into ~1/2 inch pieces
½ large or 1 small red pepper, chopped into ~1/2 inch pieces
2 carrots, cut into diagonal slices
1 cup snow peas, cut in half
1 small bunch of bok choy or napa cabbage, cut into ~1 inch squares
other options: onion, Thai or regular eggplant, bamboo shoots, baby corn, whatever vegetables you like!


 Cut the meat and vegetables into the sizes indicated above, and set aside.

A whole pile of vegetables. You can make substitutions using vegetables that you like and have on hand. 

This was probably more like 1/3 pound of chicken.


Heat the oil over medium in a medium-sized stock pot. Stir the curry paste into the pan and heat for about a minute. Add the broth and coconut milk, then bring to a simmer, increasing heat to medium-high. Add the sugar and soy sauce, and stir well.


Stirring the curry paste into the hot oil. It splatters a little bit.

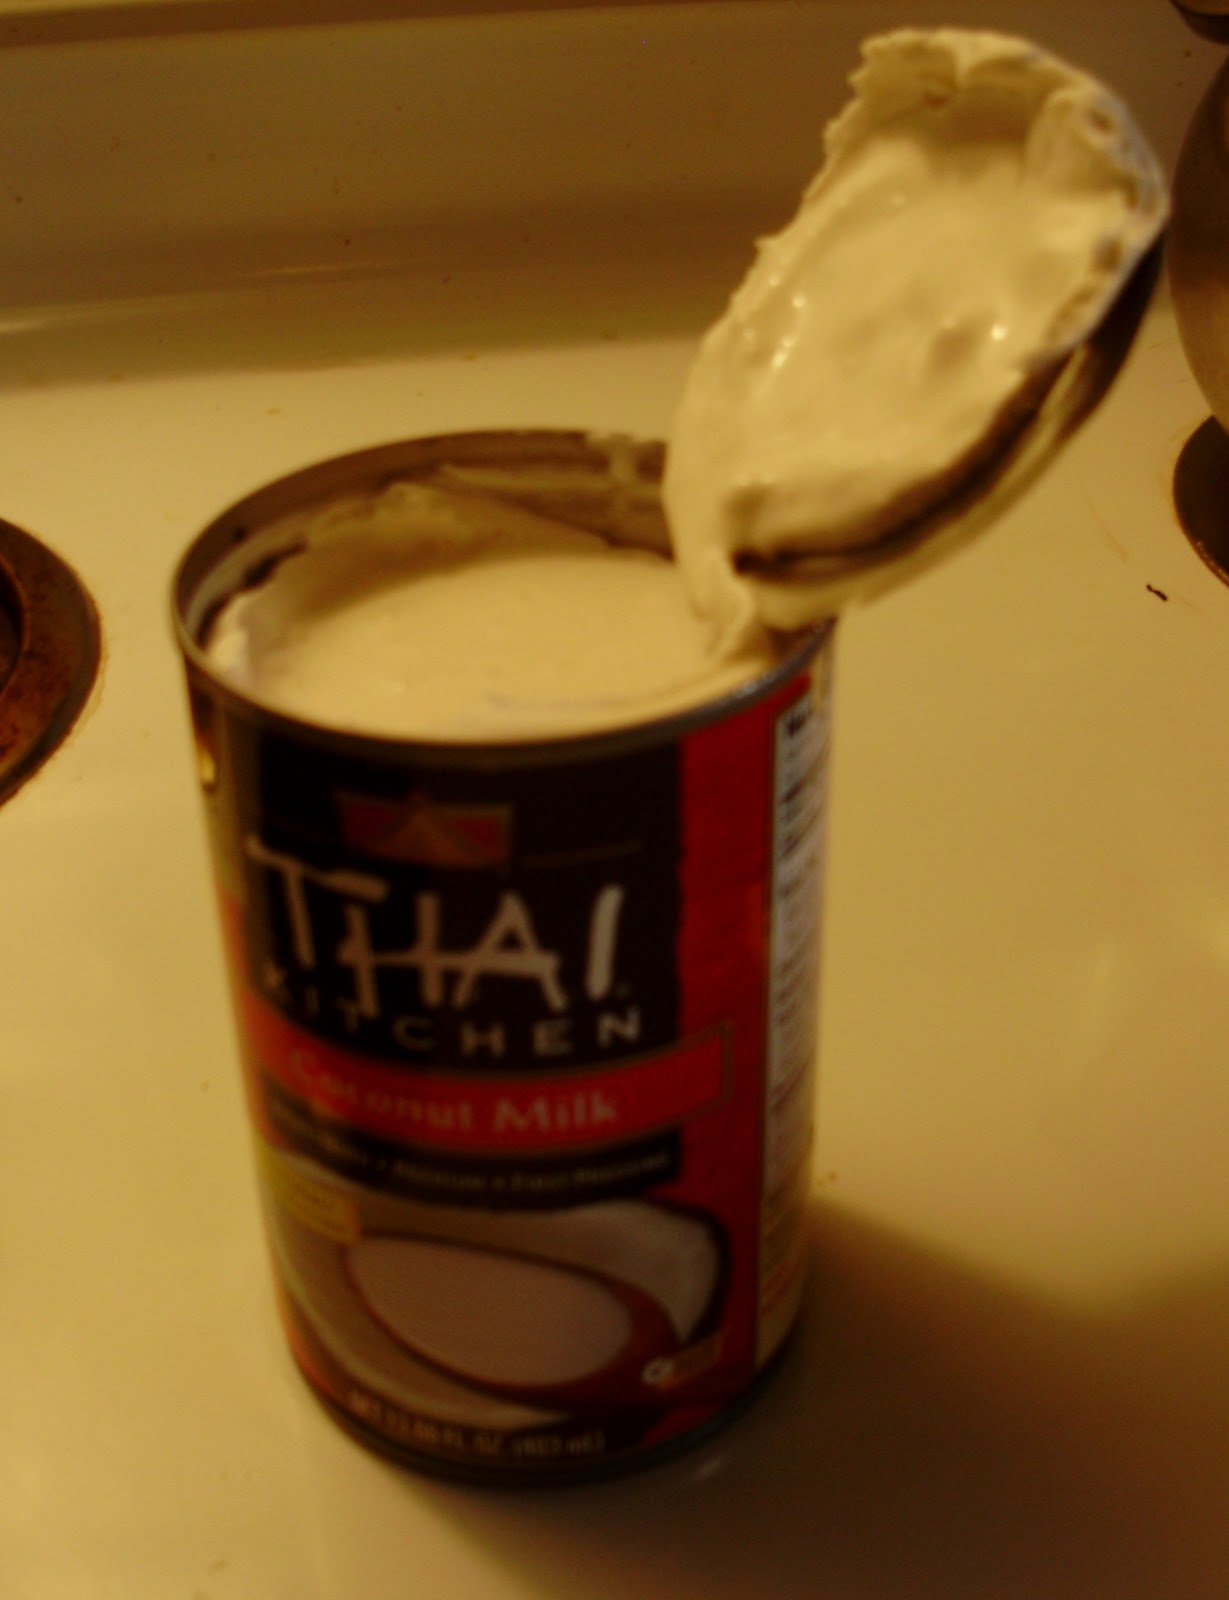
Coconut milk is amazing. If you want this to be lower calorie, you can use the lite milk, or even the coconut milk that comes in a carton. It will not be as rich, though.

Add the milk and broth. It looks a bit low here because at first I had only half of the can in the pot. Later I added the other half.


Add the meat and vegetables to the sauce, and stir periodically. The curry is done when the meat is cooked through, about 7-8 minutes of simmering.  


The pot was a little crowded.

The vegetables cook down after a few minutes.

Finished curry! Put it over rice and you have a good dinner.

Serve over rice or rice noodles. Serves 3-4.

Next time I will probably add in some basil leaves, but otherwise I really liked this!

Monday, November 1, 2010

Butternut Squash soup


I have been absent for about two months. I am sorry, and I don't have a good excuse besides that it is my senior year of college and I am a biology major. Or maybe that is a good excuse. Hmm.

Anyway, butternut squash soup! It is made of win. And squash.

You know it is November when you are filling out your ballot and making this soup (not at the same time).

I adapted this recipe from the crockpot lady, mostly because I had to make dinner between two classes today, and didn't have time to use a crockpot. But she is fabulous and you should read her blog if you own a crockpot, or even if you don't.

Obtain a butternut squash, cut it lengthwise (this is difficult, you;ll need a hefty knife) and put it in a roasting pan in a 375 degree oven for 35 minutes, or until the flesh is soft.

Meanwhile, cut up two apples (fuji or something similar is best, I used granny smith and the soup was a bit too tart for me) and a medium onion into 1 inch pieces (no need to be precise).

Let the squash cool until you can handle it safely (I did not, hence the potholder. Don't be impatient like me.) Then scoop out the flesh.


Put the onion, apple, and squash into a stockpot and and 32 ounces of broth (chicken or vegetable) in the pot. Season with 1/2 tsp pepper, a pinch of salt, and a sprinkle of nutmeg. Bring the pot to a boil, then turn down heat and simmer the covered pot for 25 minutes.

Let the soup cool slightly, and then blend in small batches until the soup is as pureed as you like it. Reheat if necessary, then serve.

This is Free_the_Radicals attempt at fancy food photography. Though the sprinkle of nutmeg and drizzle of olive oil is delicious.

This was quite tasty, though a bit too tart. I think next time I will either use one apple, or two small fuji's. But still good!

Saturday, May 8, 2010

Pseudo-Cantonese spicy chicken soup

So even though this is a recipe that I invented by throwing things together, and indeed, change the ingredients of every time, I did the unthinkable: I measured (almost) everything. Just for you.


Almost a decade ago, now, I spent some time in China, mostly in Hong Kong. It is a beautiful city, and I enjoyed my time there. Unfortunately, due to circumstances that would take a lot of time to explain, the team I went with ate local cuisine (that is, not McDonalds or bread and fruit bought at a grocery store) maybe once or twice in almost a month. I consider this a great tragedy, as Cantonese food is delicious.

The one time I distinctly remember eating out was a little hole-in-the-wall eatery in one of the many malls. Because the menus were written in Chinese, I just ordered the first thing that didn't sound too spicy or too strange for my 12-year-old palate (pig intestines was one of the options I remember).

I ended up ordering a giant delicious bowl of soup with some kind of sausage, vegetables, and tons of thin noodles that were either mung bean threads or rice noodles. It was also way spicier then anything I eat in America (I am a total hot sauce wimp) but it was so delicious I didn't care.

This recipe was evolved out of multiple attempts to try and recreate the tasty spicy soup with noodles.

Please note that I say "pseudo-Cantonese" because lets face it, I don't know much about Chinese cuisine except that it is delicious.

Here is everything you will need. (The coffee is not a part of this cast of characters. i just have a tiny kitchen is all)

1 Qt chicken broth
1 chicken breast
1/3 package of bean threads or rice noodles (this is the one thing I did not measure. Sorry)
1/2 red bell pepper
1 carrot
3-4 mushrooms
1 tsp grated fresh ginger
2 cloves garlic, minced
2 tablespoons sweet chili sauce
1-2 tsp sirracha or other hot chili sauce (be careful, this stuff burns!)
1 tsp soy sauce

Begin by soaking the bean threads or rice noodles in a bowl of cold water. Set aside.

Heat a quart of chicken (or whatever-flavored) broth in a saucepan over high. In the mean time, cut all the veggies into strips like these:

Normally I use about a quarter of a cabbage instead of the 1/2 bell pepper, but I didn't want to make another grocery trip. Celery is also good.

Put the veggies into the boiling broth, and allow to simmer for 5 minutes.
Add the sweet chili sauce, sirracha, ginger, garlic, and soy sauce.

Meanwhile, slice the chicken into thin strips like this. Beef is also good, and I bet tofu would be too.
Put the meat into the pot and stir. The liquid should be hot enough that the chicken will be cooked in a minute or two.

The purpose of cutting the meat and the veggies so thin is twofold: they will cok very quickly, and it's easier to eat with chopsticks this way.

When the vegetables are soft and the meat is cooked (6-8 minutes of total cooking time if you are more coordinated then me) add the drained noodles, and allow to heat for 1-2 minutes.

Then serve and eat with chopsticks, it somehow tastes better that way!

Serves three.