Showing posts with label dessert. Show all posts

Saturday, August 29, 2015

Gluten free chocolate cake

Chocolate cake, ganache, whipped cream, and peaches!

 Here is a recipe for a gluten free chocolate cake that is delicious and moist and doesn’t dry out for a few days!


My spouse’s grandmother has been gluten-free for a couple years now, and one of the tips she gave me recently was to use Bob’s Red Mill’s 1 for 1 Gluten Free flour blend. I have used their other all-purpose GF mix in the past and didn’t like it as much, possibly because of the use of bean flour, but the 1 for 1 mix is made of different flours.


This is not a paid advertisement for Bob's Red Mill, nor do they know who I am (though Bob Moore did get his seminary degree through my Alma Mater!) I just love their products.

The idea behind 1 for 1 is that you can adapt a normal (gluten-containing) recipe to be gluten free, just by using this mix instead of wheat flour, and it should turn out well. It is the same idea as the Better Batter and Cup for Cup mixes, but I have not ever used those blends, so I can’t attest to how good those are.

This recipe is nearly identical to Pioneer Woman’s recipe for strawberry Nutella cake . The differences are the use of a gluten-free flour blend, that this recipe only makes one layer of cake instead of two, and I added an extra egg which helps keep the cake from crumbling.


Gluten free chocolate cake

Adapted from Pioneer Woman

Ingredients

1 stick of butter (8 tablespoons)
2 heaping tablespoons cocoa powder
½ cup boiling water
1 cup gluten-free flour mix (Bob’s Red Mill 1 for 1 flour blend is what I have tested this recipe with)
1 cup granulated sugar
A pinch of salt
¼ cup buttermilk
2 eggs
½ teaspoon baking soda

½ teaspoon vanilla extract or spiced rum

Makes one layer. For a double-layer cake, double all ingredients and use two cake pans.


Preheat oven to 350 F. Grease a round 9” cake pan, and line the bottom of the pan with parchment paper that is lightly greased (The first time I made this recipe the cake fell apart but when I made it again with the parchment paper it helped prevent this).

Parchment paper is really helpful for preventing GF baked goods from sticking 

Melt the butter in a saucepan over low heat. Once melted, add the cocoa powder and stir until smooth. Add the boiling water and stir again. Turn off the heat and set the cocoa mix aside.


Here is the melted butter, cocoa powder, and boiling water all mixed together

Mix the buttermilk, baking soda, eggs, and vanilla or rum together in a small bowl or mixing cup (I ran out of vanilla extract and used some amber rum that I had on hand and it added a nice flavor to the cake. Use what flavoring you prefer).  Set aside.


Buttermilk, baking soda, eggs, flavoring mixed together

Mix the sugar, GF flour, and salt together in a large bowl. 

The dry ingredients whisked together

Slowly add the cocoa mixture to the flour mixture and stir until smooth.

At the beginning of mixing... 

And after mixing a while the batter turns to a dough-like consistency

Pour in the buttermilk mixture and mix until all ingredients are well incorporated.

Buttermilk mixture just added

 Batter after everything has been well mixed

Pour the batter into the greased cake pan, and then bake for 17-27 minutes (I live at 7200 feet and needed 26 minutes) testing for doneness

Before baking

Let the cake cool in the pan for about 5 minutes before sliding a butter knife around the edges of the cake, and then carefully turn the cake onto a wire rack to cool completely before proceeding to decorating the cake.

After baking. You can see marks where I stuck a fork in to test if it had baked long enough

The pan is probably too hot to touch at this point, so use hot pads to flip the cake, or wait until the pan is cool enough to touch safely. I like to put the cake rack upside down on top of the pan, and then carefully invert the two together. Tough to describe and tougher to photograph by yourself!


Don't forget to remove the parchment paper

Now decorate the cake however you like! Use Nutella like in Pioneer Woman's recipe, or buttercream frosting, or with a layer of ganache, then whipped cream, then fruit as in my pictures. I have made this twice with a layer of ganache and then a thick layer of whipped cream. I have made it with both chopped peaches macerated in a little sugar (shown below), and with sliced strawberries and pitted cherries (last picture). Use any fruit that sounds good!

With peaches

~artsy photo~ with strawberries and cherries!

*allergy note: this cake could be made dairy free by swapping butter for margarine, and the buttermilk for soy or almond milk with a teaspoon of lemon juice added a few minutes before mixing it with the other ingredients.

Thursday, August 21, 2014

Coconut Macaroons

I had a bag of unsweetened coconut lurking in the back of my cupboard, and in the spirit of trying to use up ingredients but also wanting something really simple to bake because I cannot deal with recipes that use up dozens of dishes these days, I made some macaroons. I was surprised by how much I liked them; they are slightly crisp on the outside and pleasantly chewy inside.

Macaroons: very simple to make, and gluten-free/dairy-free without adaptation.


Macaroons (with unsweetened coconut)

Adapted from this recipe

As always, if you need to be gluten-free, make sure to check your ingredient labels before baking.

3 egg whites
2 cups finely shredded unsweetened coconut
½ cup plus 1 TBS granulated sugar
1 tsp vanilla extract
¼ tsp sea salt (optional)

Yields about 12 cookies.

Preheat oven to 350 F.

Mix all the ingredients together, until all the coconut is incorporated and the dough is slightly sticky (you may need to use a little more or less coconut depending on how big your egg whites are).

Cover a baking sheet with parchment paper (or use a lot of cooking spray instead of the paper, but I like parchment paper because it makes clean up really easy). Using your hands or a spoon, form the dough into walnut-sized balls and place on the baking sheet. Flatten them slightly.

Bake at 350 F for 16-20 minutes, until the macaroons are slightly brown (I live at 7000+ feet, you may need to adjust your cooking time. 18 minutes was perfect for these cookies at my altitude).


 Mixing all the ingredients together.

It will take a few minutes of stirring, but eventually all the ingredients will come together to form a dough. 

Unbaked macaroons. 

Baked macaroons! You can see that I had a small ring of caramelized sugar/egg white around the macaroons. I think this could be prevented by adding a little more coconut and/or by putting the cookies on the middle over rack; I forgot to rearrange my oven racks and used the bottom one.

Sunday, February 12, 2012

Molten Chocolate Lava Cake, Gluten Free

You can see here why it is called "molten" and "lava" since a little batter spills out of the finished cake.

We don't typically do a lot to celebrate Valentine's Day at my household. It can be a fun holiday, if you are seeing someone; but it can be painful if you are single, or a hassle if you're not, or both either way. I suppose it just seems strange when a holiday insists that you must be romantic in a certain way on a certain day, especially a holiday named for a Roman martyr. Valentine's Day is nice excuse for chocolate and a date night, though.

Which was part of the inspiration for making a gluten-free chocolate lava cake. I keep seeing glutenous chocolate recipes everywhere on the Internet because it is February. I used to make this recipe a fair bit, because it is quick, easy, and delicious, yet seems quite fancy. So I adapted it to be gluten-free. It can also be made totally dairy-free if you use coconut oil instead of butter. Both are delicious.

This is a pretty fantastic dessert, and just in time for Valentine's Day, whether you celebrate it or not!

Molten Chocolate Lava Cake, Gluten Free

Adapted from Brandielle's recipe

Also, the Pioneer Woman made the original recipe with a bunch of step-by-step photos a few years ago, if you are so inclined.

Serves 2 (can easily double or triple)

4 ounces dark chocolate
¼ cup butter or coconut oil (½ a stick)
½ cup powdered sugar
½ cup gf flour, such as sorghum
2 eggs
1 tsp vanilla

Preheat oven to 425 F.

Melt the chocolate and butter together by microwaving in a microwave-safe bowl in 20 second increments. Stir between microwaving, until the contents of the bowl are completely melted. Allow the mixture to cool for 3-5 minutes.

Add the sugar, flour, eggs, and vanilla, and whisk until the mixture is smooth. Spoon the batter into two well-greased ramekins. Bake for 13-14 minutes, or until soft in the middle, but not liquid.

Remove the ramekins from the oven, and let cool for a few minutes. Invert the ramekins onto a plate. The cake should have a bit of gooey batter in the middle, hence the “molten” and “lava” in the title. Eat and enjoy!


Stirring the melted chocolate and butter/coconut oil

Stirring in the flour, sugar, vanilla, and eggs. It is important to let the chocolate cool off a bit before adding in the eggs, so that they don't congeal or cook.

The batter prior to baking.

After baking.

Inverted.

Delicious chocolate middle! It is like having chocolate sauce on your cake, but without the extra work.

Sunday, January 29, 2012

Delicious Chocolate and Blood Orange Cupcakes

(Which I was going to call “Gluten-free vegan chocolate cupcakes with a customization option which I made with blood oranges” but I realized that this was a rather long-winded way of titling something which, quite simply, was delicious).


These pictures are not the greatest; I was in a hurry to finish baking before a meeting.

A lot of people in my life have food allergies/intolerances now, and so it is pretty common to have long email threads before a gathering to see who can eat what, and what people should bring that everyone can eat. This is very confusing for folks who do not live with these dietary issues, particularly when it comes to baking. So, usually I am asked to handle the desert. Which I am happy to do!

Most recently, we needed to accommodate egg, dairy, and gluten issues, so the brownies that I normally make were out. I had made these mocha cupcakes before, and they were delicious, but there were young kids at the gathering, and I didn't think their parents would appreciate a caffeine-laden desert. But I liked the idea of cupcakes (according to The Internet, cupcakes are a culinary trend that is becoming unfashionable) (I think that is ridiculous, cupcakes have always been a mainstay of birthday parties and gatherings where a layer cake is impractical) (plus they are super-kid friendly and seem to make a bit less of a mess) (good heavens this is a lot of parentheticals) so I tweaked the already-fabulous recipe into something that would work for me.

And thus we have this recipe for a plain chocolate cupcake, which is also vegan and gluten-free.

Chocolate cupcakes

Adapted from the Gluten-Free Goddess

Dry ingredients

¾ cup sorghum or brown rice flour
¾ cup cornstarch
½ cup cocoa powder
1 cup granulated sugar
½ rounded tsp sea salt
1 tsp baking soda
1 tsp baking powder
1 tsp xanthan gum

Other ingredients
2 Tbs ground flax seed + 4 Tbs warm water (you can use 2 eggs instead if you prefer)
1 cup non-dairy milk of choice
3 Tbs light-tasting oil
½ tsp vinegar
1 tsp vanilla extract

Preheat oven to 350 F.

Combine the flax with the warm water in a small bowl, and set aside, allowing it to sit for at least five minutes. This is your “egg.”

Combine the dry ingredients in a medium sized bowl, and whisk together to incorporate.

Add in the other ingredients, including the flax “egg,” and mix for 2-3 minutes. This can be done in a stand mixer or with a regular spoon or whisk if you don't mind a work-out. The batter will be very thick, and somewhat stringy.

Fill muffin tins (lined with cupcake liners) about 2/3 full of batter. It may be necessary to smooth out the tops of each tin of batter with the back of a spoon in order to get a smooth top after baking.

Bake cupcakes for 20 minutes.

Makes 1 dozen cupcakes.

Remove from the tin to a wire rack to cool, or else the cupcakes become slightly soggy.

Wait until the cupcakes have completely cooled prior to frosting.

Frosting:

2 cups powdered sugar
2-4 Tbs shortening (I used Spectrum)
¼ cup cocoa powder
1 tsp vanilla extract
2-3 Tbs non-dairy milk

Combine the first four ingredients, then add “milk” one tablespoon at a time. Blend with a stand or hand mixer until fluffy. Add more liquid if necessary. Pipe or spread onto cooled cupcakes.

Unfrosted chocolate cupcakes. Gluten-free baked goods are often a little lumpy if you don't smooth out the batter.

Variation:

After making these, I decided to try to make another variety. I suspect you could make infinite variations to this recipe if you so desired. Basically, you change what spices or extracts you add to the batter, replace cocoa powder with cornstarch if the cupcake is non-chocolate, and use different liquids for the “milk.” I made a blood orange cupcake, and it was fantastic. I used these ingredients, following the instructions above. Please experiment with making your own changes to the recipe, until you find something that you really like! The recipe seems to be pretty forgiving.

Blood orange cupcake variation

Dry ingredients

¾ cup sorghum flour
1 ¼ cup cornstarch
1 cup sugar
½ rounded tsp sea salt
1 tsp baking soda
1 tsp baking powder
1 tsp xanthan gum
half the zest of a blood orange
½ tsp nutmeg

2 Tbs flax + 4 Tbs warm water
3 Tbs oil
½ cup blood orange juice
½ cup coconut milk
2 tsp lemon juice

Frosting:

2 cups powdered sugar
2-4 Tbs shortening
half the zest of a blood orange
~2 Tbs blood orange juice


Unfrosted cupcakes. These were pretty tasty plain.

Pretty pink frosting.


So try either variation, or play with the ingredients and make your own! Cupcakes should be fun as well as tasty.


Monday, December 12, 2011

Meyer lemon baking

I am perhaps one of the last food bloggers to have discovered the joys of the Meyer lemon, but I am glad to have baked with them finally! I love cooking with lemon because of the way the citrus can brighten a sweet or a savory dish; especially because many varieties only appear in stores in the winter, where they are like an edible ray of sunshine. Meyer lemons, though, are especially fantastic. They are a bit sweeter than a normal lemon, and smell somewhat floral. They are also only in stores for a little while in the winter here in the Pacific Northwest, which made me eager to cook with some.

I picked up a bag of Meyer lemons last week, mostly to juice and zest them, because I like to keep a little stash of lemon zest in the freezer for convenience. I then ended up making two different lemon-based baked goods. Both recipes turned out to taste quite pleasant.


First, some almond-lemon biscotti, made almost exactly the same as this recipe by the Gluten-free Girl. The main differences were that I used different flours (swapped brown rice for sweet rice and tapioca, and switched potato flour instead of potato starch) and almonds instead of pecans. I think the one thing I will change next time is to use more like a half-cup of sugar, these are more like a desert then a snack.


I also modified my scone recipe slightly. I swapped out the potato flour for buckwheat, and used 1/4 cup lemon juice instead of coconut milk. Also, I added the zest of a lemon into the dough, and added in an extra tablespoon of sugar. I felt like these needed something else, maybe poppy seeds or almonds, but they taste good regardless.

So, you should go make something with Meyer lemons while they are still in stores! They are a fantastic fruit.

Saturday, July 10, 2010

broiled apricots


Yay! Summer is finally here in the Great Northwest. Which means that those of us living in apartments typically do not have AC, and are sweating it out right now. But it also means that local fruit is finally getting in season, if a few weeks late (only one of my tomato plants has even blossomed).

Inspired by Gluten-Free Girl's latest post, I made a very simple dish out of some local apricots, and it was yummy.


Start with a greased cast-iron skillet. I love cast iron. It is both awesome cookware and a formidable weapon. (Kidding!)

Cut apricots (and I threw a peach in there too because it was getting soft) into quarters and put in the pan. Sprinkle lightly with sugar, chopped rosemary, and chopped mint leaves.

Bake in the oven at 375 F for 20 minutes, and then broil for 3 minutes, watching carefully.

These broiled for 4 minutes, which was obviously a bit too long.

Aaaaand eat them! These would be good on ice cream, mixed into yogurt, or even into oatmeal. Plain is nice too.

I had to add more sugar at the end because even though the apricots were local and supposedly in season, they were dang sour. A bit more sugar fixed that though.

I totally want to try this again with peach halves and basil. Mmm.

Happy summer (finally) everyone!

Sunday, June 27, 2010

Fresh Cherry Tart


Yaay! Cherry season!

I finally made a successful tart! (I've made a couple with my new-ish tart pan, but nothing I was proud of).

A fresh cherry tart. With cherries we bought at a stand while on a day trip to Hood River. Good times, that.

Right, so pretty much the exact reason why I ordered a tart pan and a cherry pitter with one of the gift cards we were given at our wedding was to make cherry tarts, and cherries are finally in season, so I did just that this evening, heavily inspired by this recipe.

And here is how to make your own.

Begin by pitting 2 lbs of fresh cherries. Since the fruit is really the highlight of the desert, make sure you are using tasty fruit that is in season.
I'm not going to lie, the fact that the cherry juice splatter looks a bit like blood kind of amused me. Man, biologists are weird.

Toss the cherries with 2 tablespoons of sugar and a half teaspoon vanilla extract, and let sit while you make the crust.

Simple syrup infused with vanilla would have been better, but I am lazy sometimes.

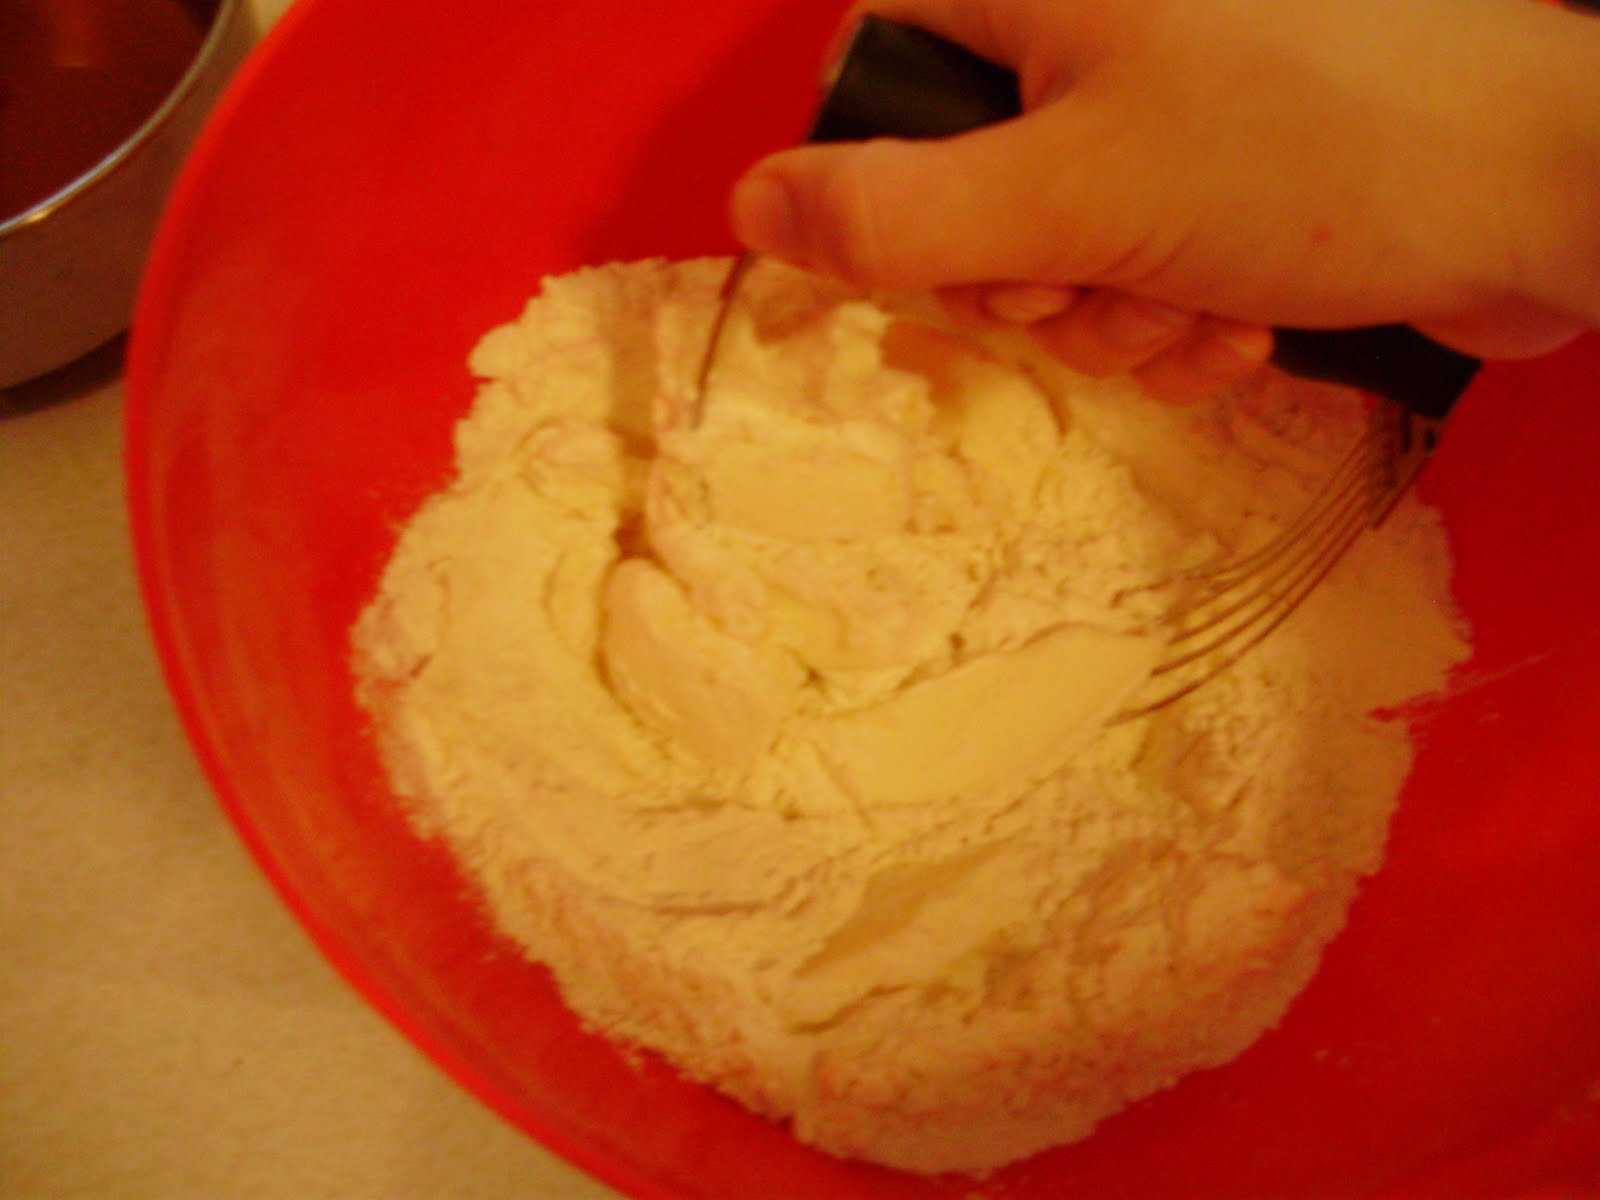
For the tart shell, blend together 1 1/2 cups of white flour, a stick of softened butter, and 2 tablespoons of sugar. Blend until the mixture looks like crumbs.

Then add a teaspoon of vanilla extract, a half teaspoon of almond extract (both extracts are optional, but they highlight the cherry flavor) a pinch of salt, a tablespoon of cream, and enough water to make everything just barely stick together. I think I used about 3 tablespoons.


You'll get a wad of pastry that should just barely hold together. Flatten the ball into the tart pan, until there is an even layer of pastry covering the entire pan.

Like so. Prick all over with a fork, and bake at 325 for 12-15 minutes. (you're technically supposed to use pastry weights to ensure even baking, but meh. I warned you of my laziness earlier.)

Let the tart shell cool for 5 or so minutes, then arrange the cherries so that there are no gaps in the tart. If you like your cherries really fresh, then you could be done now.

Buut I wanted a warm tart, so I baked it at 375 for 5 minutes.

It was good, and The Man really liked it.

And since you are essentially eating cherries and shortbread, you only have to feel sort-of guilty for eating an extra piece.

One note, because the whole ensemble is baked for so short a time, I didn't want to try and use any custard to hold the thing together, so the cherries will fall off of the crust, like in the picture below. While that didn't bother us at all, if you want to serve this for company, you may want a prettier recipe, like one of these:

http://www.joyofbaking.com/CherryTart.html

http://www.epicurious.com/recipes/food/views/Prune-Cherry-and-Apricot-Frangipane-Tart-350630