Showing posts with label fruit. Show all posts

Tuesday, May 17, 2011

Redwall-inspired Blackberry-Apple Crumble


Tasty literary-inspired crumble

-->
This is a post I have been meaning to write since February.
Brian Jacques, author of the beloved Redwall series of children's books, passed away on February 5th of this year. I found out shortly thereafter, and was saddened by the news. Not only did I love those books (and still do) but Mr. Jacques seemed like a genuinely lovely and kind man. To quote Wikipedia, “His book Redwall was written for his 'special friends', the children of the Royal Wavertree School for the Blind, whom he first met them when he delivered to the school as a milkman. He began to spend time with the children, and eventually began to write stories for them. This accounts for the very descriptive style of the novel and the ones to follow.” That is beautiful.

My copies of these books are "well-loved."
-->
I remember that I posted a status commemorating him on Facebook, and many people commented on it expressing their sadness, but they also expressed a joy in reminiscing about reading the Redwall books in their childhood.
-->
At school the next day, several people who had read my status talked to me about Redwall and Mr. Jacques' passing. It was interesting that everyone seemed to mention how reading any given Redwall book made them very hungry. Every book in the series contains many detailed descriptions about the food the animals of Redwall Abbey consume; from grand feasts to picnics to teatime.

The introduction of The Redwall Cookbook offers explanation for the detail Mr. Jacques went into about food.
...It really annoyed me [in books] when I'd come to a passage where somebody ate a marvelous feast. There never seemed to be any description of it. Afterward, the hero would ride off on his white stallion, thanking the King for the wonderful dinner. Wait! What did it taste like? What did it look like? How was it made? Did he really enjoy it? Questions that to even my young mind required much answering. That is why the fare at Redwall Abbey is featured so prominently— I'm trying to put things right!”

My boss at school also heard the sad news that week, and because we are both big fans of the books, she obtained The Redwall Cookbook from the library, and cooked several dishes from it, which she brought to school, then inviting me and other workers to partake in a feast of sorts. It was fun, and a little peculiar, and it struck me that this was the perfect way to remember Mr. Jacques: by telling stories while eating good food.

So in the spirit of remembrance, I am going to be posting a series of Redwall-inspired foods, taken from the books themselves wherever possible. Today's is taken from Mossflower, where the woodlanders eat a meal at Brockhall, including a blackberry-apple crumble. This is what I imagine it might be like.

Blackberry-Apple Crumble
Crumb topping:
½ c wheat flour
½ c rolled oats
¼ c brown sugar
1 stick of butter

fruit:
3 chopped apples
12 oz blackberries
2 tsp cornstarch
2 tsp granulated sugar

Toss together the chopped apples, cornstarch, and granulated sugar. Let the mixture sit for 15 minutes. Put apples into a baking dish, and mix in blackberries. (Alternatively, if you don't care if your berries get somewhat squished, mix apples and berries together at the beginning of this step.)
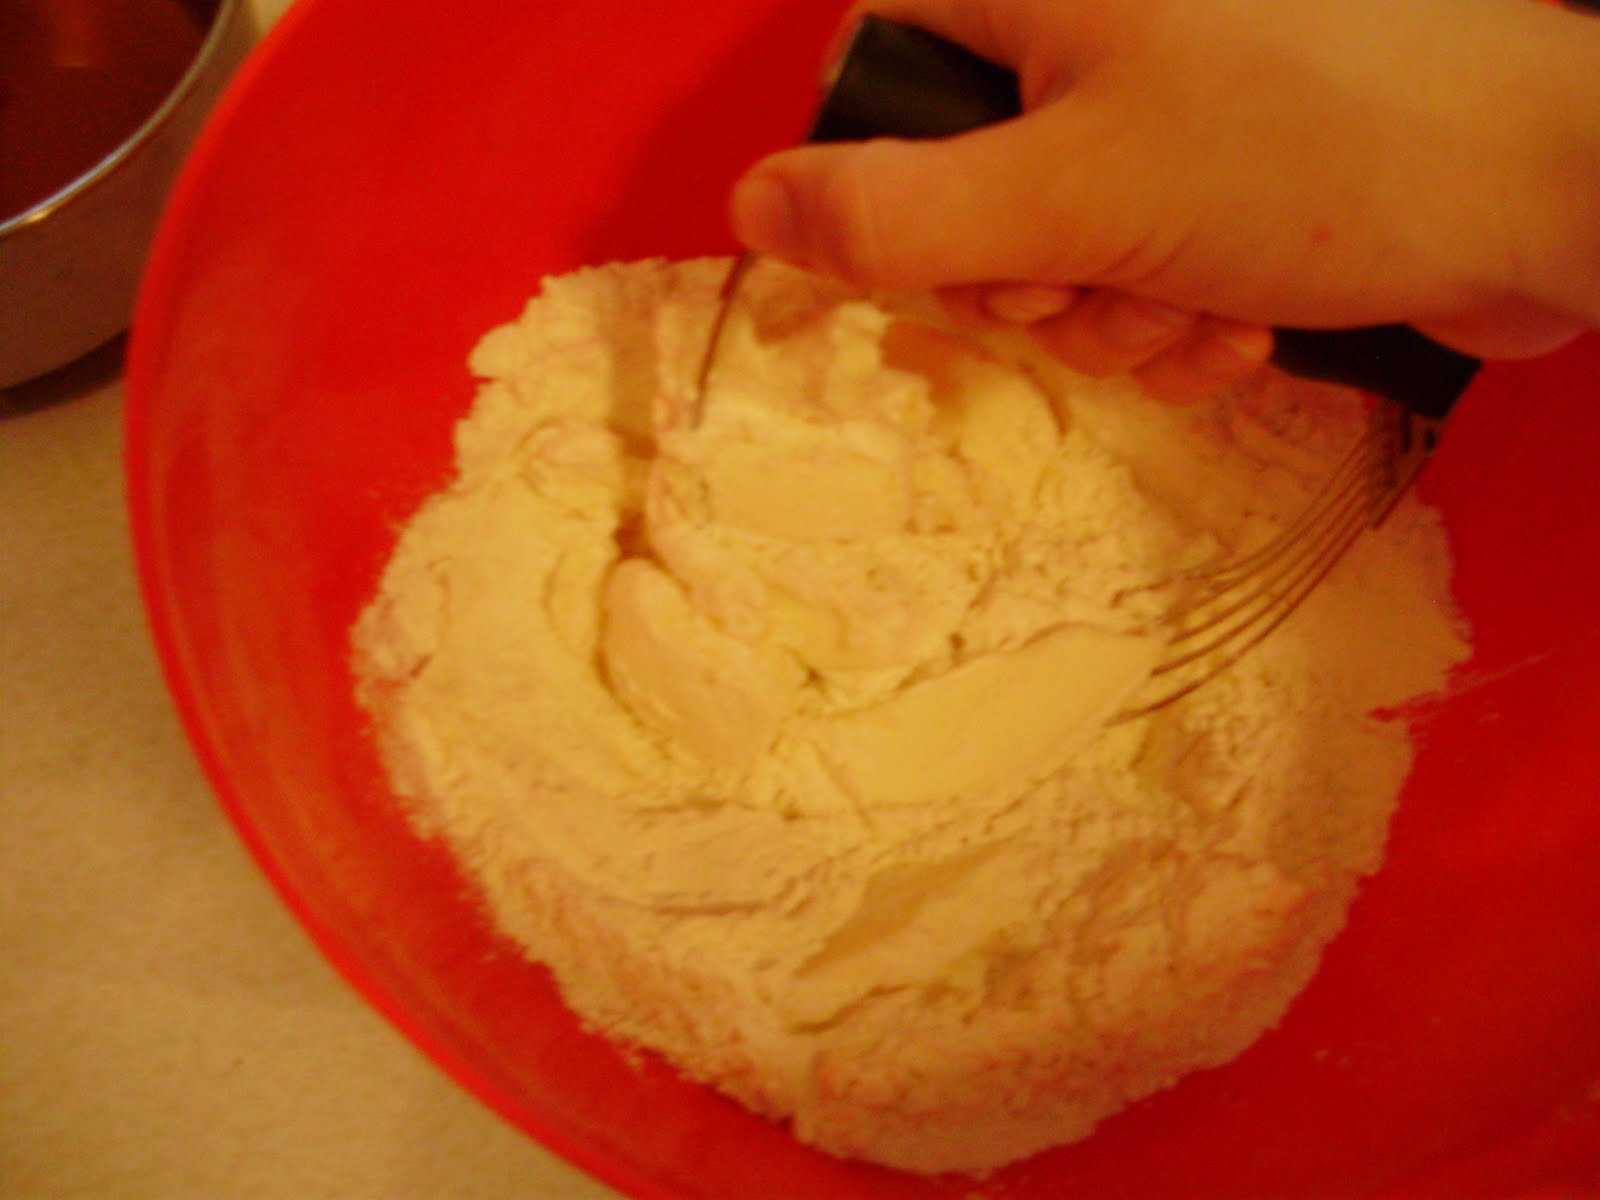
Meanwhile, blend together oats, flour, sugar, and cold butter with a pastry blender until the mixture forms pea-sized crumbs. Chill in the fridge for ~10 minutes.
Spread the topping evenly over the fruit. Bake at 375 for ~45 minutes.

This is most of what you'll need.
Chopped apples tossed in sugar and cornstarch. I didn't put the berries in yet because I wanted them to remain intact. I realize that this is irrational.


Crumb topping.


Crumbles are homely looking, but tasty.

Friday, May 13, 2011

No-knead wheat bread and strawberry-mint spread


I have been having a lot of fun being out of school, but after my first full day at home alone, I have to admit that I hope my unemployment doesn't last long. There hasn't been a single summer since I was in high school that I wasn't at a full-time job shortly after school ended. Given the economic climate since I started college, this means I have been extremely fortunate, which is not something I take lightly.

It has been nice to do relatively little these last two weeks, going on vacation and doing some housework for your parents is a far cry from the custodial work I used to do in the summers, or my awesome research job last year. But after submitting a number of applications for work and hearing back nothing for weeks is starting to get to me a little. Still, I know that I am very fortunate, and it is normal to not get a job right out of college. I am just going to have to get creative with how to spend this newfound time.
So much of the paraphernalia of school is still lying around, this stack of chemistry exams on my desk has been relegated to coaster for my tea. I should probably recycle or file those...


I have been trying to write more, and sew, between looking for jobs, and I am looking at taking summer classes, but the easiest thing to do for now is to start back up with cooking and blogging!

I found this recipe for no-knead bread this morning, and figured, "hey, I have time to make bread!"

I did tweak the recipe a little bit; first by cutting the recipe in half, then I used half white flour and half wheat flour. Finally, I didn't have cornmeal to dust the loaf with, so I chopped some rolled oats. It added some interesting texture.


The bread after rising for 3 hours.


After baking for 30 minutes.


Anyways, go over to the blog Honey & Jam to get the recipe, the bread turned out beautifully, and there was little effort involved.

But I also had some strawberries that were getting slightly wilted, and some mint leaves. So I made a strawberry-mint jam/fruit spread that was friggin' tasty, and it made a perfect accompaniment for the bread. Please note that it is not shelf-stable, and it must be kept in the refrigerator.

Strawberry-mint spread:

small bunch of mint leaves
1/2 cup water
1 cup chopped strawberries
1/4 cup white sugar
1 Tbs lemon juice

Boil the leaves in 1/2 cup of water for 4-5 minutes. Strain out the leaves, and add the strawberries, sugar, and lemon juice. After it comes to a boil, reduce heat slightly.

Mash the strawberries (I used a fork) and let the mixture boil for about 20 minutes. Let it cool, ladle into a clean jar, and then store in the fridge.


The mint flavor was not pronounced at all, but otherwise I was happy with my first-ever jam. Maybe I will teach myself canning this summer :)

Tuesday, May 10, 2011

Gluten Free strawberry desert, two ways


I have been absent from this blog for a long time. School work backed up on me, as well as applying for jobs, presenting research, and so on.

All of this work has culminated in my graduating from university! I officially have my B.S. in biology. (The Man and I find it amusing that he is B.A. because of his history degree, but my degree is just B.S? Yay for puns.) I will also have some more time in the foreseeable future.

Back onto the subject of graduation, one of my gluten-free friends threw a shindig for me. It was lots of fun, and I made desert. Then I had a pint of strawberries left, so I made desert for my husband's workplace, where there are a lot of people who can't have gluten or dairy. I felt domestic and it was weird.

Both recipes received very good reviews, so I am passing them on to you.


Gluten-free (GF) strawberry rhubarb crumble

Adapted from this recipe.

Fruit filling:

4 cups chopped strawberries

1.5 cups chopped rhubarb

2-4 Tbs granulated sugar (two was perfect for eating with ice-cream, but rather tart on its own)

2 tsp cornstarch

½ tsp ground ginger


Crumb topping:

¾ cup GF Bisquick

¼ cup brown sugar

stick of cold butter

1 tsp GF vanilla extract

½ tsp ground ginger

½ tsp cinnamon


Toss fruit with dry ingredients, and let sit for 15 minutes.


Preheat oven to 375 F.


Blend together ingredients for the topping with a pastry cutter until the mixture looks like crumbs. Refrigerate for 15 minutes.


Place fruit mixture into a 9x9 dish. Evenly distribute topping over the fruit. Bake for 30-35 minutes.


Gluten and Dairy-Free Strawberry Cobbler

This was made on a whim, so there are no making-of photos. Disclaimer: I didn't actually get to eat any of this, but I was told that everyone in the office enjoyed it.

Fruit filling:


4 cups strawberries, cut into pieces

2 tsp cornstarch

2 Tbs granulated sugar

1 tsp GF vanilla extract

zest of 1 Meyer lemon

½ tsp ginger


Biscuit topping


¾ cup GF bisquick

1/3 cup coconut milk

3 tbs granulated sugar

1 tsp GF vanilla extract

¼ tsp ginger


Toss cut strawberries with dry ingredients until well-distributed. Allow the mixture to sit for 15 minutes.


Preheat oven to 375 F.


While berries are sitting, combine the ingredients for the biscuit topping together in a bowl. Stir together with a fork or pastry cutter until the dough holds together in clumps.


Place berry mixture into a 9x9 inch glass pan, spreading evenly. Drop spoonfuls of the dough onto the berries, so that it covers most of the berries. Bake for 30 minutes, or until topping is golden brown.

Monday, December 27, 2010

I'm back! With Cranberries!

I'm back, with some holiday-type recipes! Things have finally slowed down in the Free!Radicals household, as during the Christmas week, the Man and I spent every day doing at least one thing with each other's families. That's fun, but exhausting.

So, have a quick tutorial on how to make cranberry sauce! I have learned that a lot of people are attached to the jellied stuff from a can, but I think it is kind of gross.

Cranberry sauce:

Pick out the bad cranberries from a 16-ounce bag of cranberries. Usually there are only a few, but I had to take out a lot this time. Put them in a saucepan.


Add 2-3 cups of water, and 1 1/4 cups of sugar. You might want to add more sugar if you like your cranberries really sweet, but I do not.


Heat over medium-high, and after a few minutes the cranberries will start popping and turning syrupy.


Though the cranberries pop, you still need to mash the berries.

And you have cranberry sauce!


Normally I add some lemon zest, but i had no lemons. So it is just as simple as water, cranberries, and sugar.

Happy belated holidays!

Thursday, August 26, 2010

Chocolate Banana Bread


The wonderful thing about chocolate banana bread is that it seems so much more decadent than regular banana bread, but because it uses cocoa powder, not chocolate bars, it is actually better for you! Or at least I suspect it is, given the amazing properties people attach to chocolate's flavenoids and antioxidants (which help neutralize free radicals!).

I digress.

After a camping weekend where the Man and I made breakfast and many people didn't eat the fruit we served, I came back home with too many bananas, and they were turning brown. My answer to too many bananas is always: Banana bread!

No making-of photos today, but here's the recipe, adapted from here.

1 3/4 cup wheat flour (you can use white, but what makes me feel virtuous)
1/4 cup cocoa powder
1 cup white sugar
1 tsp baking powder
1/2 tsp baking soda
1 pinch salt

2 beaten eggs
1/3 cup vegetable oil
2 tablespoons melted butter
3-4 ripe bananas, mashed
1 tsp vanilla extract

Preheat oven to 350 F

In a large bowl, mix together all of the dry ingredients. Set aside.

In a medium bowl, mix together eggs, oil, butter, bananas, and vanilla. Scrape the mixture into the dry ingredients, and gently stir together. (you could add chocolate chips at this point, but why spoil the illusion that this is healthy food? Actually, it is decently healthy.)

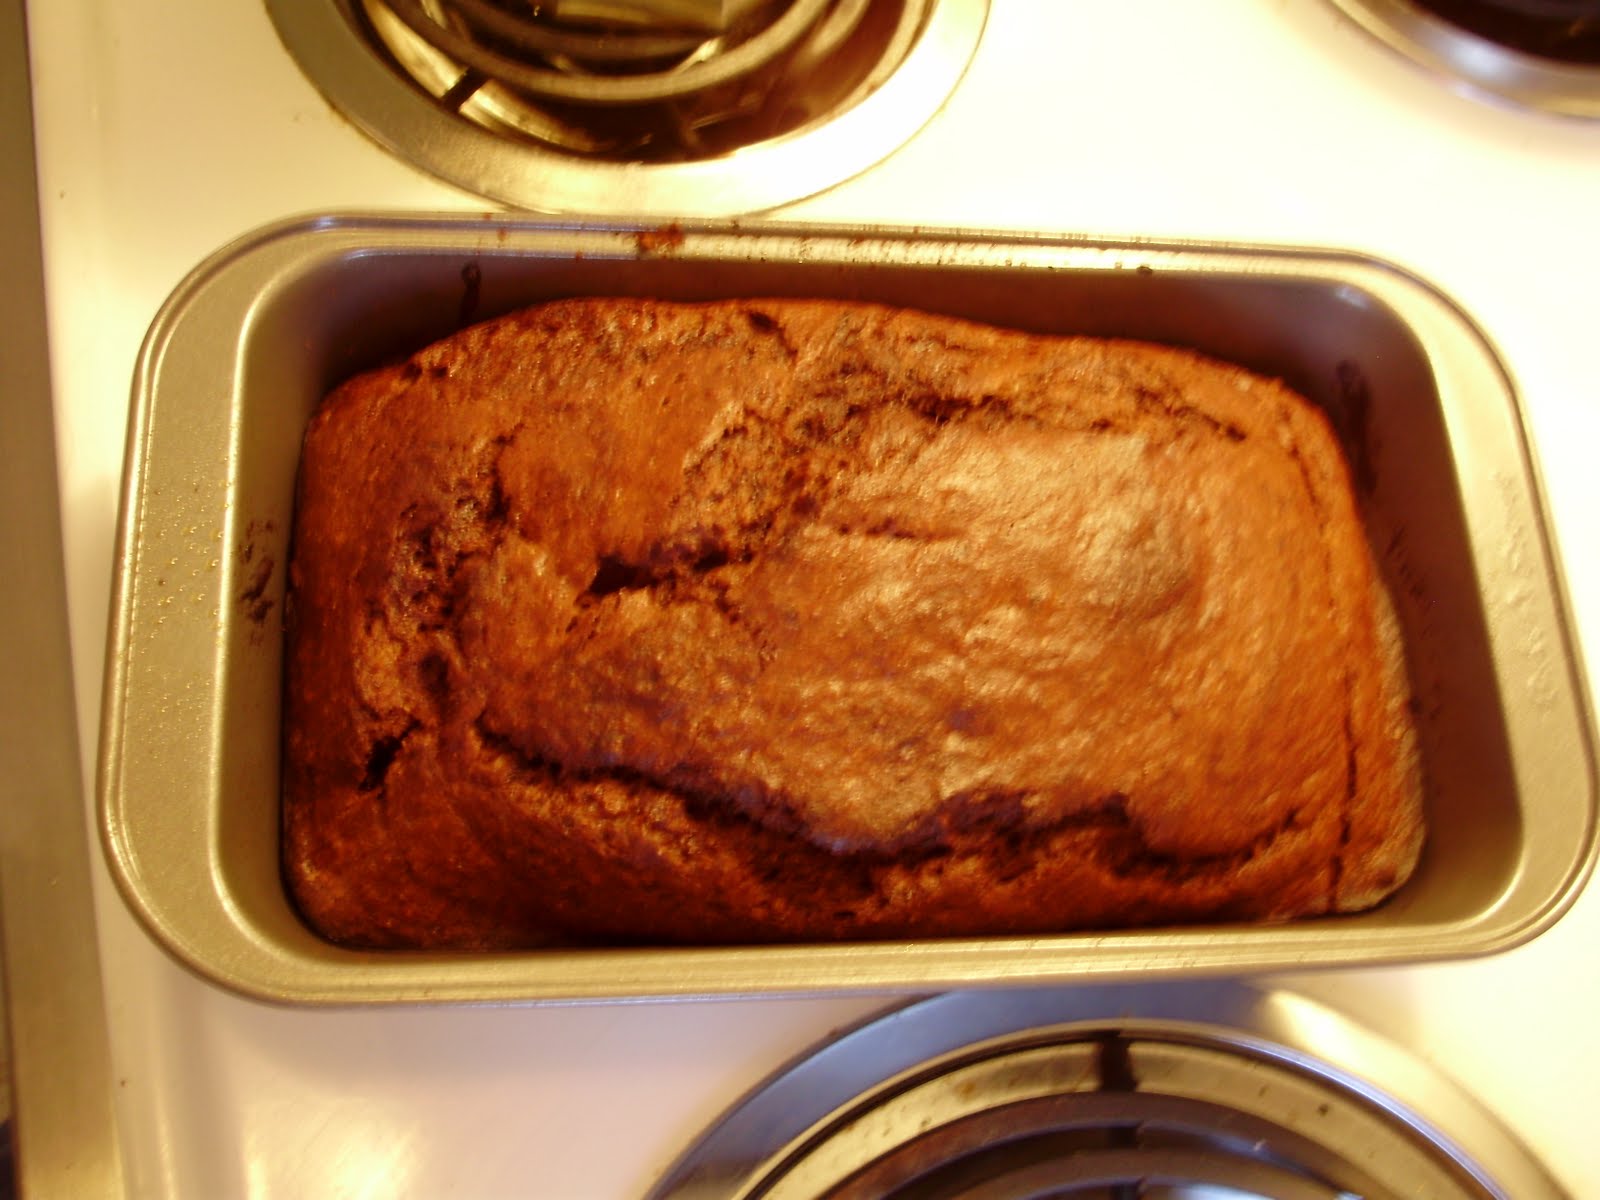
Pour batter into a greased breadpan. Bake for 50-65 minutes, it will be done when you stick a fork or toothpick in the bread, and it comes out clean.

Apologies for the blurry picture.

So how was it? Definitely better the next day, but I really enjoyed this. Having more banana then the typical banana bread recipe (normally they say 2) keeps this really moist. I didn't mind the taste of the wheat flour, though the Man said he could tell there was some in the bread, but in my opinion, that is not a bad thing. The chocolate is noticeable, but not in-your-face.

A great way to use up bananas!

Saturday, July 10, 2010

broiled apricots


Yay! Summer is finally here in the Great Northwest. Which means that those of us living in apartments typically do not have AC, and are sweating it out right now. But it also means that local fruit is finally getting in season, if a few weeks late (only one of my tomato plants has even blossomed).

Inspired by Gluten-Free Girl's latest post, I made a very simple dish out of some local apricots, and it was yummy.


Start with a greased cast-iron skillet. I love cast iron. It is both awesome cookware and a formidable weapon. (Kidding!)

Cut apricots (and I threw a peach in there too because it was getting soft) into quarters and put in the pan. Sprinkle lightly with sugar, chopped rosemary, and chopped mint leaves.

Bake in the oven at 375 F for 20 minutes, and then broil for 3 minutes, watching carefully.

These broiled for 4 minutes, which was obviously a bit too long.

Aaaaand eat them! These would be good on ice cream, mixed into yogurt, or even into oatmeal. Plain is nice too.

I had to add more sugar at the end because even though the apricots were local and supposedly in season, they were dang sour. A bit more sugar fixed that though.

I totally want to try this again with peach halves and basil. Mmm.

Happy summer (finally) everyone!

Sunday, June 27, 2010

Fresh Cherry Tart


Yaay! Cherry season!

I finally made a successful tart! (I've made a couple with my new-ish tart pan, but nothing I was proud of).

A fresh cherry tart. With cherries we bought at a stand while on a day trip to Hood River. Good times, that.

Right, so pretty much the exact reason why I ordered a tart pan and a cherry pitter with one of the gift cards we were given at our wedding was to make cherry tarts, and cherries are finally in season, so I did just that this evening, heavily inspired by this recipe.

And here is how to make your own.

Begin by pitting 2 lbs of fresh cherries. Since the fruit is really the highlight of the desert, make sure you are using tasty fruit that is in season.
I'm not going to lie, the fact that the cherry juice splatter looks a bit like blood kind of amused me. Man, biologists are weird.

Toss the cherries with 2 tablespoons of sugar and a half teaspoon vanilla extract, and let sit while you make the crust.

Simple syrup infused with vanilla would have been better, but I am lazy sometimes.

For the tart shell, blend together 1 1/2 cups of white flour, a stick of softened butter, and 2 tablespoons of sugar. Blend until the mixture looks like crumbs.

Then add a teaspoon of vanilla extract, a half teaspoon of almond extract (both extracts are optional, but they highlight the cherry flavor) a pinch of salt, a tablespoon of cream, and enough water to make everything just barely stick together. I think I used about 3 tablespoons.


You'll get a wad of pastry that should just barely hold together. Flatten the ball into the tart pan, until there is an even layer of pastry covering the entire pan.

Like so. Prick all over with a fork, and bake at 325 for 12-15 minutes. (you're technically supposed to use pastry weights to ensure even baking, but meh. I warned you of my laziness earlier.)

Let the tart shell cool for 5 or so minutes, then arrange the cherries so that there are no gaps in the tart. If you like your cherries really fresh, then you could be done now.

Buut I wanted a warm tart, so I baked it at 375 for 5 minutes.

It was good, and The Man really liked it.

And since you are essentially eating cherries and shortbread, you only have to feel sort-of guilty for eating an extra piece.

One note, because the whole ensemble is baked for so short a time, I didn't want to try and use any custard to hold the thing together, so the cherries will fall off of the crust, like in the picture below. While that didn't bother us at all, if you want to serve this for company, you may want a prettier recipe, like one of these:

http://www.joyofbaking.com/CherryTart.html

http://www.epicurious.com/recipes/food/views/Prune-Cherry-and-Apricot-Frangipane-Tart-350630


Sunday, May 23, 2010

Almond cake and fruit compote


I know I promised you a tagine in my last post, but the busted water heater kitchen-leak also soaked the notes I took which had measured amounts of everything I did for that recipe *sigh*. I will try to figure out my amounts in the next couple weeks.

So as soon as we got the water-heater replaced, out car broke :( It was fixed pretty easily, but because of complications this week (read: soaked kitchen and walking due to a broken car) there has been a lot of eating-out this week.

But I did do one thing: I baked this almond cake. I think you should too, it was actually pretty easy and didn't take very long. And I feel justified in the fact that we ate this cake for dinner, because I walked to work (twice!) and to the store and mechanics on Friday. It evens out, really!

I followed the recipe from the Smitten Kitchen blog almost exactly, so go here for the recipe. The only difference besides my lack of the pretty almond decorations was that I added some vanilla extract.

It turned out beautifully!

The compote, which I made while the cake was baking, was totally made up on the spot. But I liked it.

So pretty much, cut up 3-4 strawberries, add a 1/3 cup of blueberries (mine were frozen) 1/3 cup of peaches (frozen as well) and heat over medium while stirring!

I also added a tablespoon of honey and a tablespoon of sugar, as well as a sprinkle of ginger.

After about 10 minutes of cooking, I mashed everything together. This is not the first time I have wished for an immersion blender.

But then I decided that I liked the compote better when a little chunky!

Make this cake, you will not be disappointed if you like almonds... or cake.