Wednesday, July 14, 2010

shortbread fail


*sigh*

This was supposed to be delicious shortbread cookies. I am seriously craving shortbread still, and I ate the middle out of the least-burnt cookie and it was delicious, so I know that I made up a good recipe. So I might be making this again tomorrow, and actually remember to press start on the timer, dagnabit.

I used the last of my real vanilla extract on these, too :(

Recipe:

1 cup of flour
1 stick of butter, room temp
1/2 cup of sugar (I used brown)
1 tsp vanilla extract
a pinch of salt

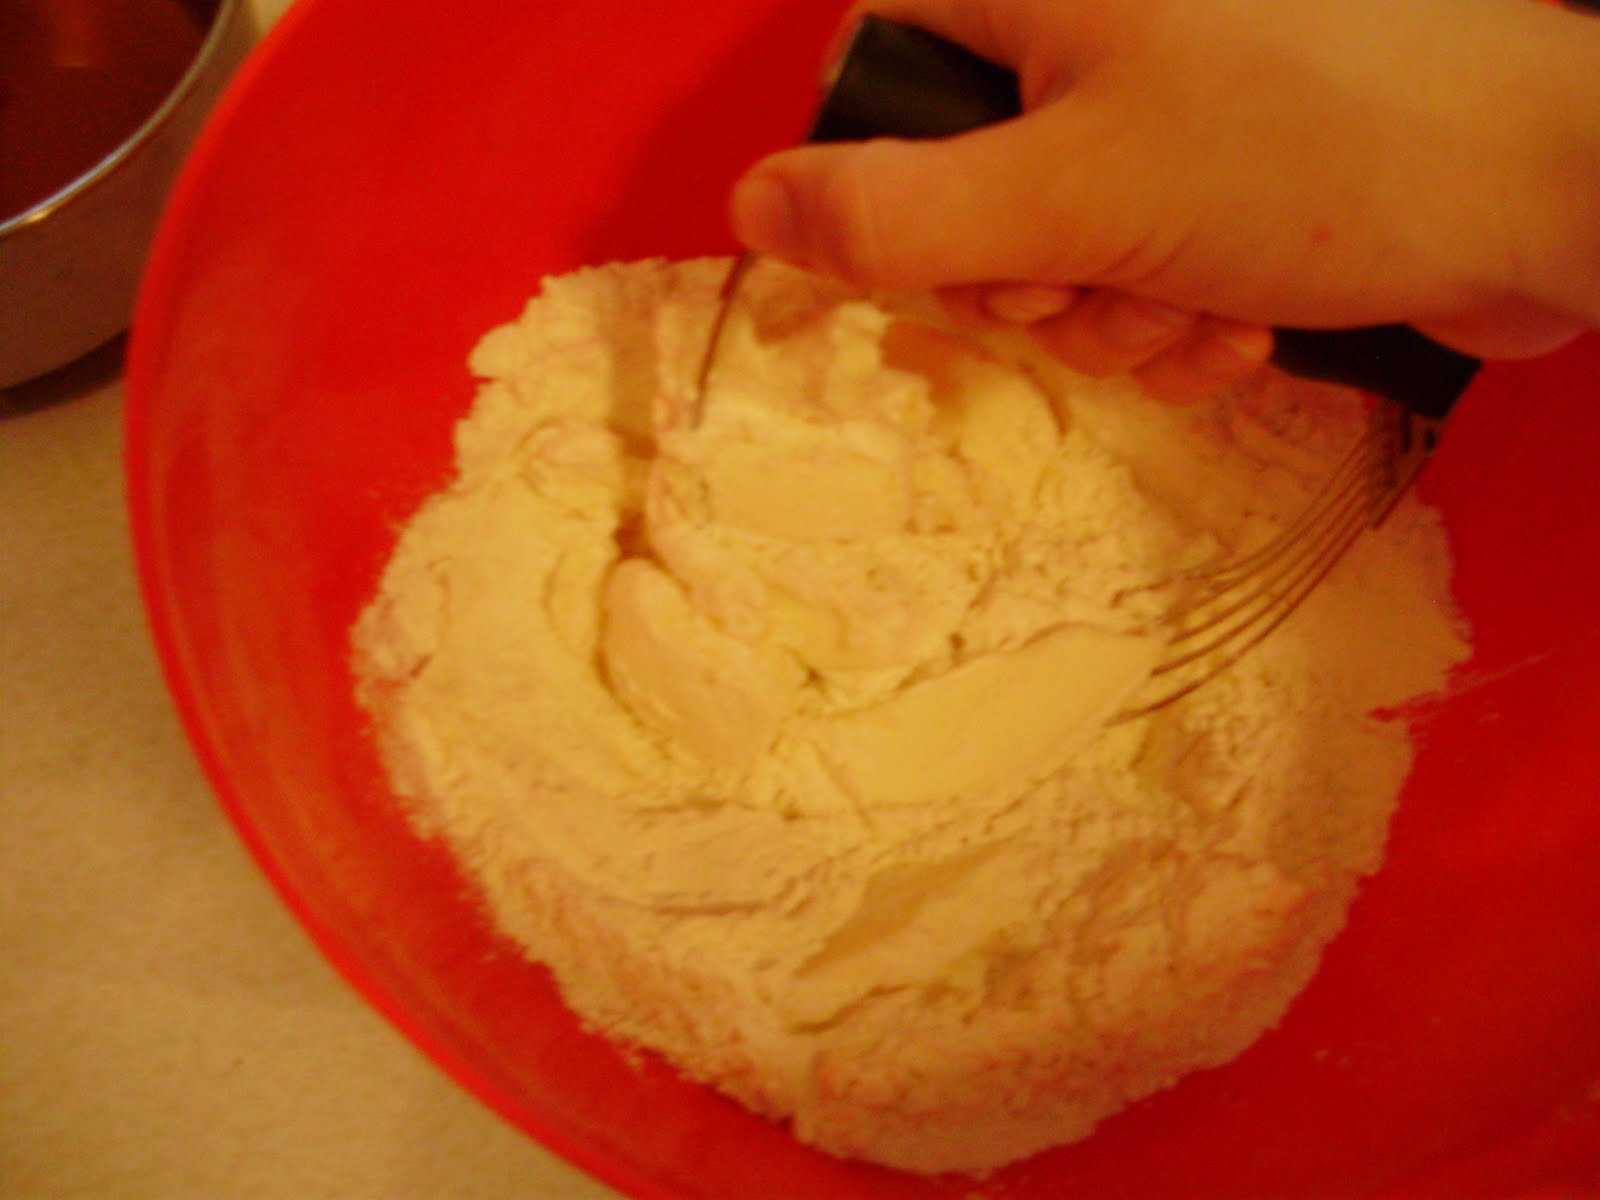
Combine all of the ingredients in a bowl, and blend together with a pastry blender until the mixture sticks together (this took me like, 5-8 minutes). Chill the dough, roll out on a flour-covered surface, and cut out shapes. Bake in a 425 degree oven, probably for 9 minutes but I don't know, since I forgot to set the timer :/

Saturday, July 10, 2010

broiled apricots


Yay! Summer is finally here in the Great Northwest. Which means that those of us living in apartments typically do not have AC, and are sweating it out right now. But it also means that local fruit is finally getting in season, if a few weeks late (only one of my tomato plants has even blossomed).

Inspired by Gluten-Free Girl's latest post, I made a very simple dish out of some local apricots, and it was yummy.


Start with a greased cast-iron skillet. I love cast iron. It is both awesome cookware and a formidable weapon. (Kidding!)

Cut apricots (and I threw a peach in there too because it was getting soft) into quarters and put in the pan. Sprinkle lightly with sugar, chopped rosemary, and chopped mint leaves.

Bake in the oven at 375 F for 20 minutes, and then broil for 3 minutes, watching carefully.

These broiled for 4 minutes, which was obviously a bit too long.

Aaaaand eat them! These would be good on ice cream, mixed into yogurt, or even into oatmeal. Plain is nice too.

I had to add more sugar at the end because even though the apricots were local and supposedly in season, they were dang sour. A bit more sugar fixed that though.

I totally want to try this again with peach halves and basil. Mmm.

Happy summer (finally) everyone!

Sunday, June 27, 2010

Fresh Cherry Tart


Yaay! Cherry season!

I finally made a successful tart! (I've made a couple with my new-ish tart pan, but nothing I was proud of).

A fresh cherry tart. With cherries we bought at a stand while on a day trip to Hood River. Good times, that.

Right, so pretty much the exact reason why I ordered a tart pan and a cherry pitter with one of the gift cards we were given at our wedding was to make cherry tarts, and cherries are finally in season, so I did just that this evening, heavily inspired by this recipe.

And here is how to make your own.

Begin by pitting 2 lbs of fresh cherries. Since the fruit is really the highlight of the desert, make sure you are using tasty fruit that is in season.
I'm not going to lie, the fact that the cherry juice splatter looks a bit like blood kind of amused me. Man, biologists are weird.

Toss the cherries with 2 tablespoons of sugar and a half teaspoon vanilla extract, and let sit while you make the crust.

Simple syrup infused with vanilla would have been better, but I am lazy sometimes.

For the tart shell, blend together 1 1/2 cups of white flour, a stick of softened butter, and 2 tablespoons of sugar. Blend until the mixture looks like crumbs.

Then add a teaspoon of vanilla extract, a half teaspoon of almond extract (both extracts are optional, but they highlight the cherry flavor) a pinch of salt, a tablespoon of cream, and enough water to make everything just barely stick together. I think I used about 3 tablespoons.


You'll get a wad of pastry that should just barely hold together. Flatten the ball into the tart pan, until there is an even layer of pastry covering the entire pan.

Like so. Prick all over with a fork, and bake at 325 for 12-15 minutes. (you're technically supposed to use pastry weights to ensure even baking, but meh. I warned you of my laziness earlier.)

Let the tart shell cool for 5 or so minutes, then arrange the cherries so that there are no gaps in the tart. If you like your cherries really fresh, then you could be done now.

Buut I wanted a warm tart, so I baked it at 375 for 5 minutes.

It was good, and The Man really liked it.

And since you are essentially eating cherries and shortbread, you only have to feel sort-of guilty for eating an extra piece.

One note, because the whole ensemble is baked for so short a time, I didn't want to try and use any custard to hold the thing together, so the cherries will fall off of the crust, like in the picture below. While that didn't bother us at all, if you want to serve this for company, you may want a prettier recipe, like one of these:

http://www.joyofbaking.com/CherryTart.html

http://www.epicurious.com/recipes/food/views/Prune-Cherry-and-Apricot-Frangipane-Tart-350630


Sunday, May 30, 2010

brown-butter chocolate chip cookies


So why am I showing you cookies in a paper bowl that are overexposed?

Because my camera is a point-and-shoot, and because I didn't have paper plates. Also, my husband and I are moving, and all of the dishes are packed. But I wanted to give my landlady some cookies! So there.

Anyways, they may look like innocuous chocolate chip cookies, but they have a secret. (also, I almost always manage to burn cookies, so they are a victory!)

The secret is brown butter. It makes these cookies nutty and taste slightly caramelized, and more interesting.

So... here is my recipe for them. It is inspired by the recipe on the back of the Nestle's Tollhouse chips bag, but I made plenty of changes.

Brown-Butter Chocolate Chip Cookies
Makes 2 dozen

1 cup plus 2 tablespoons flour
1/2 tsp baking soda
1/2 tsp baking powder
1/2 tsp salt
1 stick butter (note: it has to be butter for this recipe, as margarine cannot be browned)
1/3 cup brown sugar
1/3 cup granulated sugar
1 tsp vanilla extract
1 large egg
12 oz dark chocolate chips (I actually used 6 oz, but 12 would have been ideal)

Combine flour, salt, baking powder and baking soda in a small bowl. Set aside.

Brown the stick of butter in a small saucepan. (If you have never done this, here is a tutorial)

Meanwhile, mix sugars and vanilla in a larger bowl. Once the butter has cooled slightly, whisk it into the sugars. Add the egg after the sugar/butter mixture has cooled even more, or you could poach your egg!

Gradually incorporate flour by whisking until smooth. Add chocolate chips, and then chill the dough for a half hour in the fridge.

Meanwhile, chill your baking sheet in the freezer, this helps keep the edges of the cookies from getting crisped.

preheat oven to 375 F

scoop walnut-sized balls onto the sheet. (if you are paranoid about burning like I am, you can chill the dough on the sheet for another 15 minutes)

Bake for 8-10 minutes.

Enjoy!

Tuesday, May 25, 2010

More things to do with marzipan

Have extra marzipan from making cake with it? Make candy!


There is nothing like coming home after a long day of using sterile cell culture techniques and making a huge mess in your own kitchen.

Though it does strike me as funny that I cook in a lab coat (seriously, they are better than aprons) but don't use them in the lab.

So today I made about 3 dozen rolls, a pot of ice tea, truffles, and am about to make spaghetti.

I'll show you the dinner rolls in another post, but because they are really easy, I'll show you the marzipan truffle-things that I made.

Start by slicing the marzipan about a quarter to a third of an inch thick.

Meanwhile, melt some chocolate (didn't measure. Sorry). You can do that over a double boiler, or you can put it in the microwave for bursts of 25 seconds to avoid scorching it.

I recommend the microwave.

Please don't do what I did and try to add cream, it just made the whole thing seize up :( What a mess! But it's friggin' chocolate, so of course I didn't let it go to waste.

Okay. So they easy thing to do would have been to dip the marzipan slices into the melted chocolate using a fork, then let them cool on a cookie sheet.

I managed to get a couple of them dipped, as I had a few extra chocolate chips that i melted. They are the rectangular pieces in the photo below.

Also, dusting them with cocoa powder looks nice, but is optional.


The truffle-shaped ones were made by rolling the marzipan into a ball, then squishing the seized chocolate around the marzipan and rolling. It was very messy, and also very delicious. But I didn't take pictures because it takes two hands and does not look pretty.

So, if you don't try to add cold liquid to the melted chocolate, this is actually very easy.

Sunday, May 23, 2010

Almond cake and fruit compote


I know I promised you a tagine in my last post, but the busted water heater kitchen-leak also soaked the notes I took which had measured amounts of everything I did for that recipe *sigh*. I will try to figure out my amounts in the next couple weeks.

So as soon as we got the water-heater replaced, out car broke :( It was fixed pretty easily, but because of complications this week (read: soaked kitchen and walking due to a broken car) there has been a lot of eating-out this week.

But I did do one thing: I baked this almond cake. I think you should too, it was actually pretty easy and didn't take very long. And I feel justified in the fact that we ate this cake for dinner, because I walked to work (twice!) and to the store and mechanics on Friday. It evens out, really!

I followed the recipe from the Smitten Kitchen blog almost exactly, so go here for the recipe. The only difference besides my lack of the pretty almond decorations was that I added some vanilla extract.

It turned out beautifully!

The compote, which I made while the cake was baking, was totally made up on the spot. But I liked it.

So pretty much, cut up 3-4 strawberries, add a 1/3 cup of blueberries (mine were frozen) 1/3 cup of peaches (frozen as well) and heat over medium while stirring!

I also added a tablespoon of honey and a tablespoon of sugar, as well as a sprinkle of ginger.

After about 10 minutes of cooking, I mashed everything together. This is not the first time I have wished for an immersion blender.

But then I decided that I liked the compote better when a little chunky!

Make this cake, you will not be disappointed if you like almonds... or cake.

Monday, May 17, 2010

Couscous tutorial


I wanted to make something new to show you today. But aside from the fact that the kitchen was a mess anyway, we had a bit of excitement with a pipe that is leaking through the ceiling in the kitchen, which soaked a pile of my homework on the table, and won't be fixed until tomorrow. Yeah.

I'm just grateful that the only casualties to the water damage besides the ceiling was the homework.

So! Because of the aforementioned excitement, I'll post something I meant to put up a week ago anyway.

I am going to show y'all how to steam couscous, without a couscousierre (which is a fancy pot used to steam couscous simultaneously with vegetables or meat). If you do have one, use this tutorial. It is lovely and has pictures.

My husband informed me a long time ago that most Americans make this tasty pasta completely wrong. His family lived in Morocco for a couple years where couscous is a common meal, and traditionally it is steamed and buttered three times. I was always like "dude!" (I call a lot of people dude) "Boiling it is so much easier!" and he was like *sadface* And then I ate couscous in Morocco and am convinced that steaming is the way to go. Boiling yields an almost polenta-like mush, but steaming makes fluffy pasta.

So I won't claim that this is necessarily authentic, but I did base my instructions on directions that my mother-in-law told me, and the Man thought it tasted good. So there you go.

I used 1 cup of couscous, and it yielded enough to serve 2 by itself, or 3 or 4 when served with tagine.


Dry couscous.

This step is optional, but it seemed to help prevent clumping later. Add 1 tsp of olive oil/ cup of dry couscous.

Stir! Traditionally you use your hands, but I used a rice paddle. It worked just fine.

Add a 1/4 cup of water/ cup of dry couscous...

And stir! It has already fluffed up quite a bit, and this will help the steam penetrate in the next step.

In the meantime, boil a few inches of water in a saucepan that you can fit a steamer or a sieve over.

Like this! A sieve this big wouldn't work with any more than a cup of couscous, and I don't own a real steamer. for small amounts, though, this worked fantastically.

steam for 10-15 minutes, stirring occasionally.

Dump it out into a bowl and add 1-2 tablespoons of butter. It worked better when I melted the butter, but this was fine too.

Stir until everything is distributed. Add another 1/4 cup of water, and keep stirring.

Return the couscous to the sieve over the pot and steam for another 10-15 minutes.

Add another 1-2 tablespoons of butter to the couscous, and stir. (see? Melted. This was easier then solid butter)

Stirring!

I had some daylight, so here is a slightly dramatic-looking picture of the finished product.

My lovely mother-in-law says that steaming and buttering twice is usually plenty, but you can steam and butter a third time to make it extra-delicious, and to be traditional.


Here's what i put on top of it, but that will be a different post.

mmm, beef and prune tagine.