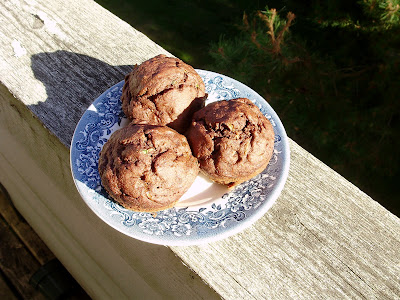
Finally, homemade gluten-free delicious toast!
Good gluten-free bread seems to be a holy grail of GF baking. After eating rice bread that feels
and tastes like Styrofoam, or a tasty but tiny loaf that costs $6.50
and is usually out of stock at my store, I get why. I used to pretty
much live on toast; it is simple and tasty, and a delicious vehicle
for condiments that I like, and it was nearly a tragedy when I first
began seeking gluten-free options. What does one do without peanut-butter toast in the morning?
Normally we would just avoid toast and
sandwiches altogether, but I just started a job (yay!!) and need
convenient meals I can eat while standing. So that is where this
bread fits in.
I tried a number of different recipes
from different sources, and the one I ended up liking best was this from the Gluten-Free Goddess. I recently discovered her blog, and I
really love her recipes! This is my adaptation, based on what I like,
and the humid Pacific Northwest climate I live in. Based on humidity, or the flours you
use, you may need to adjust the flour or water. The recipe I linked
you to has a lot of commentary on other ways that the recipe can be
modified based on climate etc.
My flour mix that I have been using is
a ratio of 2:1:1:1:1 of sorghum, millet, quinoa, oat, and brown rice,
respectively. Use the flours you like, and as always, make sure they
are certified GF.
The Man and I had people over a couple of weeks ago, and fed
them this bread. No one complained, even though they can all eat
gluten, and they seemed to think it was perfectly fine bread. As a GF
baker, I know I have achieved success when people without food
allergies like it! The polenta makes this a bit crunchy (though if
having the granules in your bread will bother you, use cornmeal or maybe almond meal) and using either honey or molasses makes this bread tender.
Gluten-free bread with polenta
1 c warm water (plus 0.5 c)
2.25 tsp yeast
1 tsp sugar (brown or white)
4 Tbs olive oil
3 Tbs honey or molasses
2 eggs
0.5 tsp lemon juice
0.5 c polenta or cornmeal
1.5 c GF flour mix plus 0.5 c
0.5 c cornstarch
1 tsp sea salt
1 tsp xanthan gum
Combine the 1 c water, yeast, and sugar
into a bowl. This step is “proofing” the yeast. Let this mixture
sit until it becomes foamy, about 10 minutes.
Add the other wet ingredients and stir.
Note that if you measure out the olive oil prior to the honey or
molasses, and use the same measuring spoon, then the honey/molasses
won't get stuck to the spoon.
Add the polenta to the wet ingredients,
and stir for a minute, then let sit for five to ten minutes, to allow it to soften (Edit: if using polenta rather than cornmeal, let it sit 15-20 minutes so that it can soften better, I have found that 5 minutes isn't long enough and you end up with granules in the finished product). Add the 1.5 cups flour, cornstarch, sea salt, and xanthan gum, and mix together.
Depending on humidity or the property
of flours you use, the dough may be either too wet or two dry. It
will not look like normal glutenous dough at all, it should be the
same consistency as thick muffin batter. If the dough is too dry or
thick, add water in a tablespoon at a time. If the dough is too wet
(it should not be as wet as cake batter!) then add flour a tablespoon
at a time.
When the dough is the right
consistency, pour it into a greased bread pan. Cover with a cloth and
let the bread rise for 2 to 3 hours.
Preheat oven to 350 F.
Bake until the top is golden brown, and
the insides are fully cooked, about 45-50 minutes. Remove from the
pan and put onto a wire rack immediately, this prevents the crust
from getting soggy.
Yields one loaf.
Proofed yeast is foamy
The dough will look like thick batter, and should be rather stiff.
The dough does not smooth out during baking like glutenous bread would, so be sure to smooth out the dough with a wet spatula or a spoon.
Smoothed-out dough
This is after the bread has risen. I made a double recipe, hence the two loaves.
The loaf after baking. The bread doesn't "poof" like what I am used to, but that's ok.
Bread!
You know you are a GF baker when you get really excited about air pockets.
This makes really good toast, and is pretty decent in sandwiches. It tastes good, freezes pretty well, and makes me happy. I will definitely keep tweaking this recipe, but this will continue to be my go-to bread recipe when I don't want to pay $6.50 for store GF bread.


