Friday, May 14, 2010

Lime curd

I have been doing a lot of cooking around here lately! The Man has recently become gainfully employed, and I won't start my job for a few more days, so after my class, I have the apartment to myself for a few hours.

So I made this lime curd after discovering that we had an abundance of limes in the fridge.

Adapted from here

Lime Curd

yields 1 cup


1/4 cup fresh lime juice (about 3 limes worth)
2 tablespoons lime zest (see above)
2 eggs, beaten lightly
1/2 cup sugar
5 tablespoons butter (cut into pieces)

Whisk juice, zest, eggs, and sugar together in a bowl, then set the bowl over a saucepan of simmering water. Add the butter, and whisk continually while cooking, until the curd is thick enough to hold marks from the whisk, about 10-15 minutes.

Strain the curd through a sieve into a bowl, and cool. Will keep for several days.

In pictures!

Whisking ingredients together.

Melting the chunks of butter.

After about 5 minutes of whisking.

This is after 10 minutes, it has thickened considerably and is lighter colored.
Aaaaand strain! This gets rid of the chunks of zest.

Deicious on pancakes, toast, or stirred into yogurt. I ended up putting it in a mediocre strawberry-lime tart, and I sort of wish I had left it plain so I could enjoy it in this form!

Sunday, May 9, 2010

Chicken Alfredo Sauce


It looks like a fancy romantic dinner. But really those wine glasses are full of white grape juice.
College students totally know how to live :D

I love pasta. Love it a lot. But my repertoire of recipes for homemade pasta sauces was pretty much limited to spaghetti until a couple years ago when I was living "on my own" and started experimenting (the quotes are because I was still technically in student housing and only lived a few miles from my parents).

Because I only ever ordered Alfredo pastas in restaurants, I assumed they would be really complicated to make. As it turns out, it's not hard at all if you are good as whisking.

Recently I tried some sort of 3-cheese Alfredo sauce from a jar and eww. It was not pleasant. I believe that there is such a thing as a tasty Alfredo sauce in a jar, but why try sorting through dozens of brands when making your own is way better?

So here is my recipe/method.

Please note that this is not remotely low-calorie.

Alfredo Sauce:
Makes 2 generous servings

2 tablespoons butter
2 tablespoons flour
1/2 cup cream
2/3 cup milk
pinch of salt
1/2 cup Parmesan cheese
2 garlic cloves (minced)
1/4 red bell pepper (They cost 2 bucks each.. so I am a little stingy with how I use them)
2-3 mushrooms (I used something that looked like a button mushroom... I am no mycologist)
1 tablespoon olive oil
1 cup cooked chicken (or 1 chicken breast)
fresh basil to taste


First melt the butter over medium heat. This is more like 3 tablespoons. Two would have been better.

Add the flour and whisk immediately or the flour will clump. (if I had used less butter or more flour, this would look more paste-like, which is good)

Add the milk and cream and keep whisking. The flour has a tendency to want to stick to the bottom of the pan, but don't let it or the sauce will never thicken. Anyways, keep stirring until the sauce gets a good bit thicker. That could be 5-10 minutes.

When the sauce has thickened, add the cheese and salt and keep whisking! No need to be too vigorous, but just to keep it from burning.

And this is what it will look like when done. Set aside on warm heat, stirring occasionally, until you are ready to add the "fixings"

In another pan, heat the oil on medium. When pan is heated, add the garlic, sautéing for a minute or two. Also, mince your garlic finer than mine if you don't like chunks or garlic in your pasta.

Add mushrooms, minced Parsley (if you have fresh oregano or basil, use that too!) and stir. I should have added the bell pepper at this point, but I had forgotten and chucked it right into the Alfredo. It tastes a little better when cooked, but it didn't ruin it for me either.
After toasting the ingredients for a minute or two, add them to the Alfredo sauce along with the pre-cooked chicken and stir.

Serve over linguine noodles, and enjoy!


So much better then anything out of a can.

Saturday, May 8, 2010

Pseudo-Cantonese spicy chicken soup

So even though this is a recipe that I invented by throwing things together, and indeed, change the ingredients of every time, I did the unthinkable: I measured (almost) everything. Just for you.


Almost a decade ago, now, I spent some time in China, mostly in Hong Kong. It is a beautiful city, and I enjoyed my time there. Unfortunately, due to circumstances that would take a lot of time to explain, the team I went with ate local cuisine (that is, not McDonalds or bread and fruit bought at a grocery store) maybe once or twice in almost a month. I consider this a great tragedy, as Cantonese food is delicious.

The one time I distinctly remember eating out was a little hole-in-the-wall eatery in one of the many malls. Because the menus were written in Chinese, I just ordered the first thing that didn't sound too spicy or too strange for my 12-year-old palate (pig intestines was one of the options I remember).

I ended up ordering a giant delicious bowl of soup with some kind of sausage, vegetables, and tons of thin noodles that were either mung bean threads or rice noodles. It was also way spicier then anything I eat in America (I am a total hot sauce wimp) but it was so delicious I didn't care.

This recipe was evolved out of multiple attempts to try and recreate the tasty spicy soup with noodles.

Please note that I say "pseudo-Cantonese" because lets face it, I don't know much about Chinese cuisine except that it is delicious.

Here is everything you will need. (The coffee is not a part of this cast of characters. i just have a tiny kitchen is all)

1 Qt chicken broth
1 chicken breast
1/3 package of bean threads or rice noodles (this is the one thing I did not measure. Sorry)
1/2 red bell pepper
1 carrot
3-4 mushrooms
1 tsp grated fresh ginger
2 cloves garlic, minced
2 tablespoons sweet chili sauce
1-2 tsp sirracha or other hot chili sauce (be careful, this stuff burns!)
1 tsp soy sauce

Begin by soaking the bean threads or rice noodles in a bowl of cold water. Set aside.

Heat a quart of chicken (or whatever-flavored) broth in a saucepan over high. In the mean time, cut all the veggies into strips like these:

Normally I use about a quarter of a cabbage instead of the 1/2 bell pepper, but I didn't want to make another grocery trip. Celery is also good.

Put the veggies into the boiling broth, and allow to simmer for 5 minutes.
Add the sweet chili sauce, sirracha, ginger, garlic, and soy sauce.

Meanwhile, slice the chicken into thin strips like this. Beef is also good, and I bet tofu would be too.
Put the meat into the pot and stir. The liquid should be hot enough that the chicken will be cooked in a minute or two.

The purpose of cutting the meat and the veggies so thin is twofold: they will cok very quickly, and it's easier to eat with chopsticks this way.

When the vegetables are soft and the meat is cooked (6-8 minutes of total cooking time if you are more coordinated then me) add the drained noodles, and allow to heat for 1-2 minutes.

Then serve and eat with chopsticks, it somehow tastes better that way!

Serves three.

Tuesday, May 4, 2010

Hot chocolate


Remember last week when I had too much leftover ganache? Well, I found a good use for it :D Strongly inspired by this post, I am currently enjoying very tasty hot chocolate.

Unfortunately, I didn't cover my leftover ganache too well and it tastes very slightly of fridge. But it is still delicious.

Ganache is made by melting 8 oz of dark chocolate with 8 oz of cream. You can do this by heating in a double boiler, or by scalding the cream and then pouring it over chunks of chocolate.

To make hot chocolate, heat about 8 oz milk. I used a microwave in 45 second bursts. Then scoop 4-5 tablespoons of ganache into the milk and stir. I also added 1 tsp of cocoa powder and a pinch of sea salt.


It may be necessary to heat for another 30 seconds to help melt the chocolate.

Stir until smooth.
That's it! It tastes suspiciously like the Starbucks fancy hot chocolate that I was addicted to before the discontinued it. I now have a just-as-good-or-maybe-better substitute.

Monday, May 3, 2010

Tomato sauce

When I was about four, I went through one of my (many) picky eater phases. In this particular one, I didn't like pasta sauce and ate my spaghetti noodles plain. Anything with tomatoes was gross and was shunned.

I still don't like raw tomatoes, but I love pretty much anything with cooked tomatoes. Really glad I grew out of that phase.

I use canned tomato sauce all the time when cooking, but homemade tastes a lot better, so I thought I would try making my own.


Pretty much you just need to peel, de-seed, chop, simmer, and puree as much tomato as you would like, but have some pictures of the process anyway!


So to peel tomatoes, cut an "x" on the end, then boil them for about 30 seconds, and then plunge them into ice water. They'll peel easily after that.

Pretend I am using two hands to do this. Also, pretend that this is ice-water. I used about 1.5 pounds, or 5 roma tomatoes.

The next part was too dang hard to photograph. Just cut the peeled tomatoes in half and cut out the middle septum (do you call it a septum in tomatoes?) and pull out the seeds.

Cutting tomatoes over the sink reminds me of my least-favorite part of food prep at my old sandwich-related fast food job. We had to slice tomatoes on this mandoline-like thing that was never sharp enough and sometimes a tomato would explode and get juice and seeds all over my face and clothes and tomato juice kind-of stings.

Does this look like ventricles to anyone else? Ahaha, biologists are weird.

Roughly chop them, and add about a half cup of water. You don't want a lot because the tomatoes have a lot of juice in them.

Bring to a boil then cover and simmer over medium for 10 minutes. Then remove the lid and reduce until enough liquid has boiled off. For me this was about 20 minutes. At some point during this part, squish the fruit with a potato-masher.

This is what it looked like after the 20 minutes of simmering.

So at this point you have tomato sauce that is ready to be used in a recipe that calls for the canned stuff. Or put on pasta if you are a purist. There is enough here for 2 servings.

I like lots of other stuff in my pasta sauce, so I minced half of a red bell pepper, about a third of a yellow onion, a tablespoon of butter (sounds weird but it is good) a splash of vegetable stock, and pepper, oregano, and basil. I let it simmer another 10 minutes, then served with spaghetti noodles and Parmesan.


I have hopes to start a container garden with several kinds of tomato, and then make and can sauce. We will see if that actually happens this summer!

Sunday, May 2, 2010

Mostly-vegan rice pudding with mango puree


I say "mostly-vegan" because it would have been vegan if I'd had another can of coconut milk in the house.

So, I really love rice pudding, but have had very little luck making it in the past. It tends to come out too chewy, tastes like cooked eggs (am I the only person who thinks that desserts shouldn't noticeably taste like eggs?) or burnt. I also tried to make it in a crockpot twice, and that was pretty fail-tastic.

But! I have made a rice pudding that I don't feel embarrassed sharing with the Internet, namely because it tasted good and did not get burnt.

I was inspired by this recipe because I wanted to use coconut milk and the mango looked really tasty, but ended up using the basic instructions from this recipe, as I prefer rice puddings that start out with uncooked rice, I feel like it lets the flavors mingle better.

The coconut and mango make this delightfully tropical.

For the pudding itself, you need the following:
1/3 cup white rice
1 can (14 oz) of coconut milk
1 cup of cow milk (I used 1%)

*note that you can make this vegan/dairy free by just using 1 and 1/2 cans of coconut milk*

a pinch of salt
1 cinnamon stick (optional)
2-3 tablespoons sugar (I used brown)
1 tsp vanilla extract
1/4 tsp ground cinnamon

Here's everything you need (except for the ground cinnamon and the salt) that you need for the pudding.


Start by adding the salt and the milk (both kinds) to the rice in a saucepan. Heat over medium-high. Stir frequently until the mixture boils, at this point adding the cinnamon stick. After it reaches boiling, turn down low, putting a lid on the saucepan.

Stir often until rice becomes tender, about 25 minutes. Remove the cinnamon stick, and then add the sugar, vanilla, and cinnamon. At this point, turn off the burner and let the pudding sit at least ten minutes. This will allow it to thicken.

Serves 3.

For the mango puree:

1 mango, cut into small pieces
2 tablespoons granulated sugar
some water
small splash of lemon juice (optional)

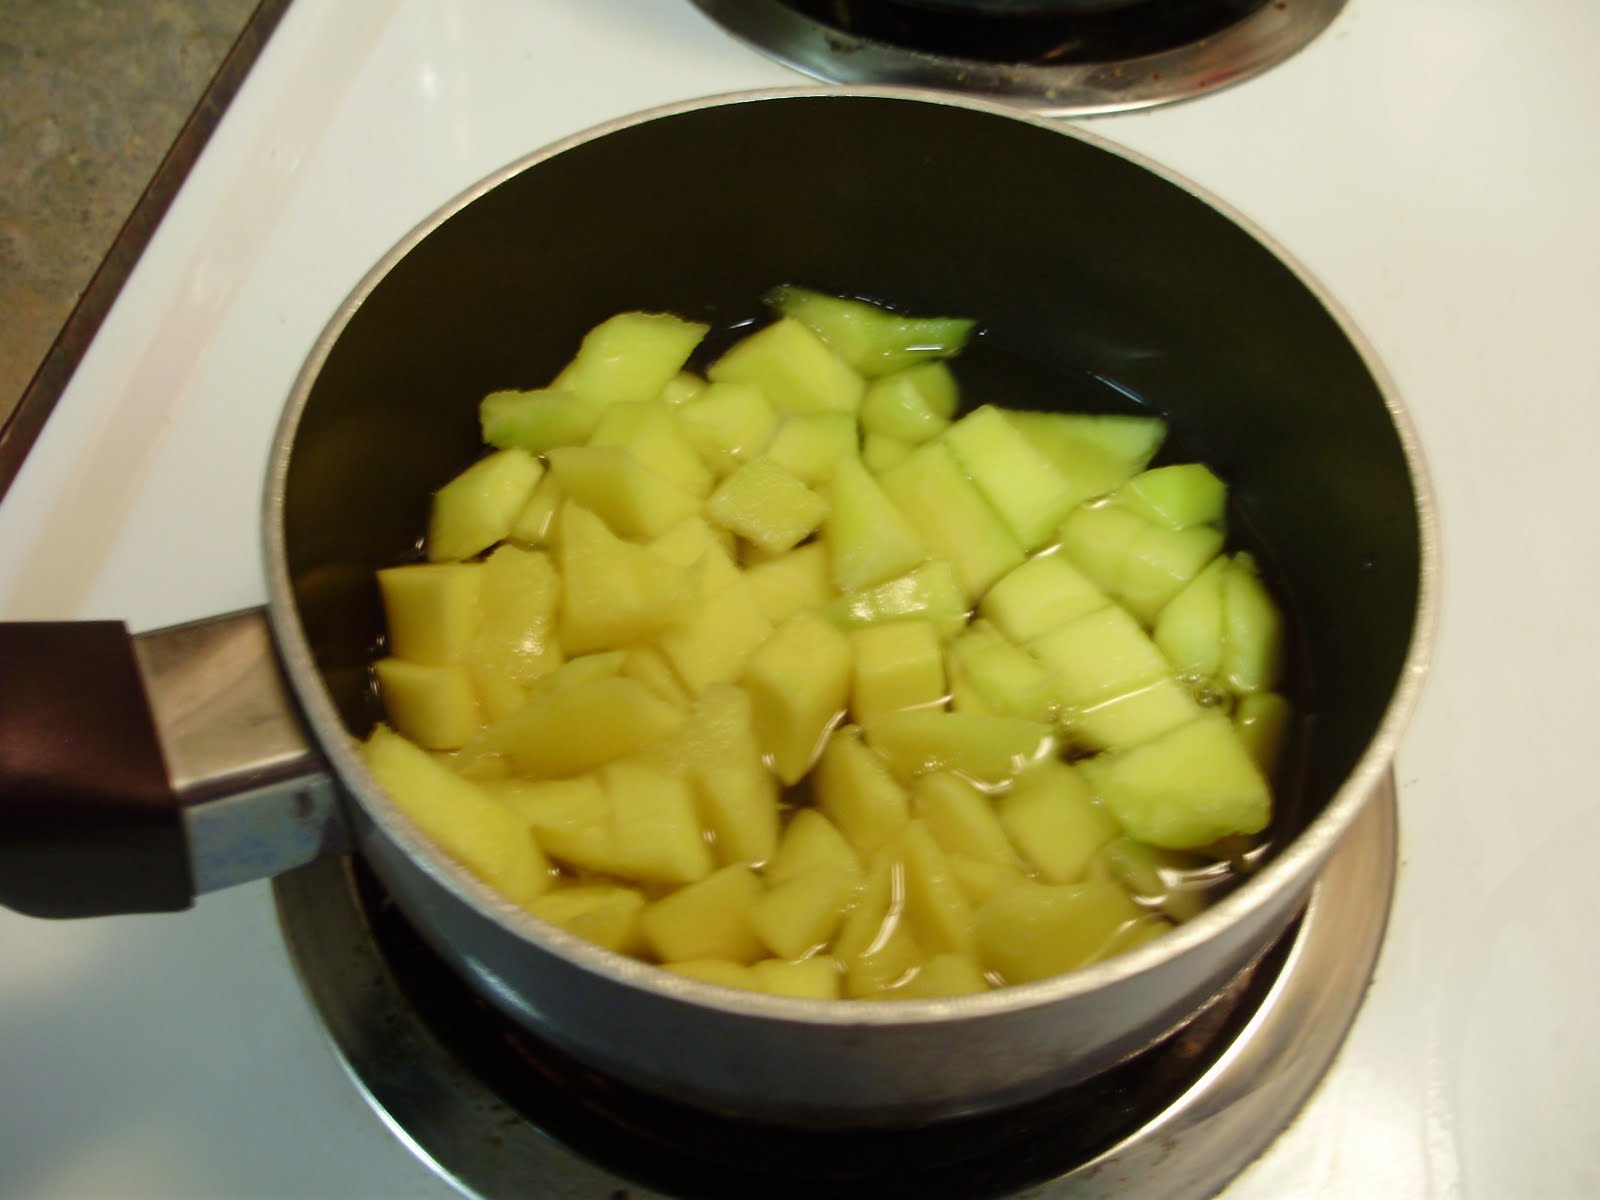
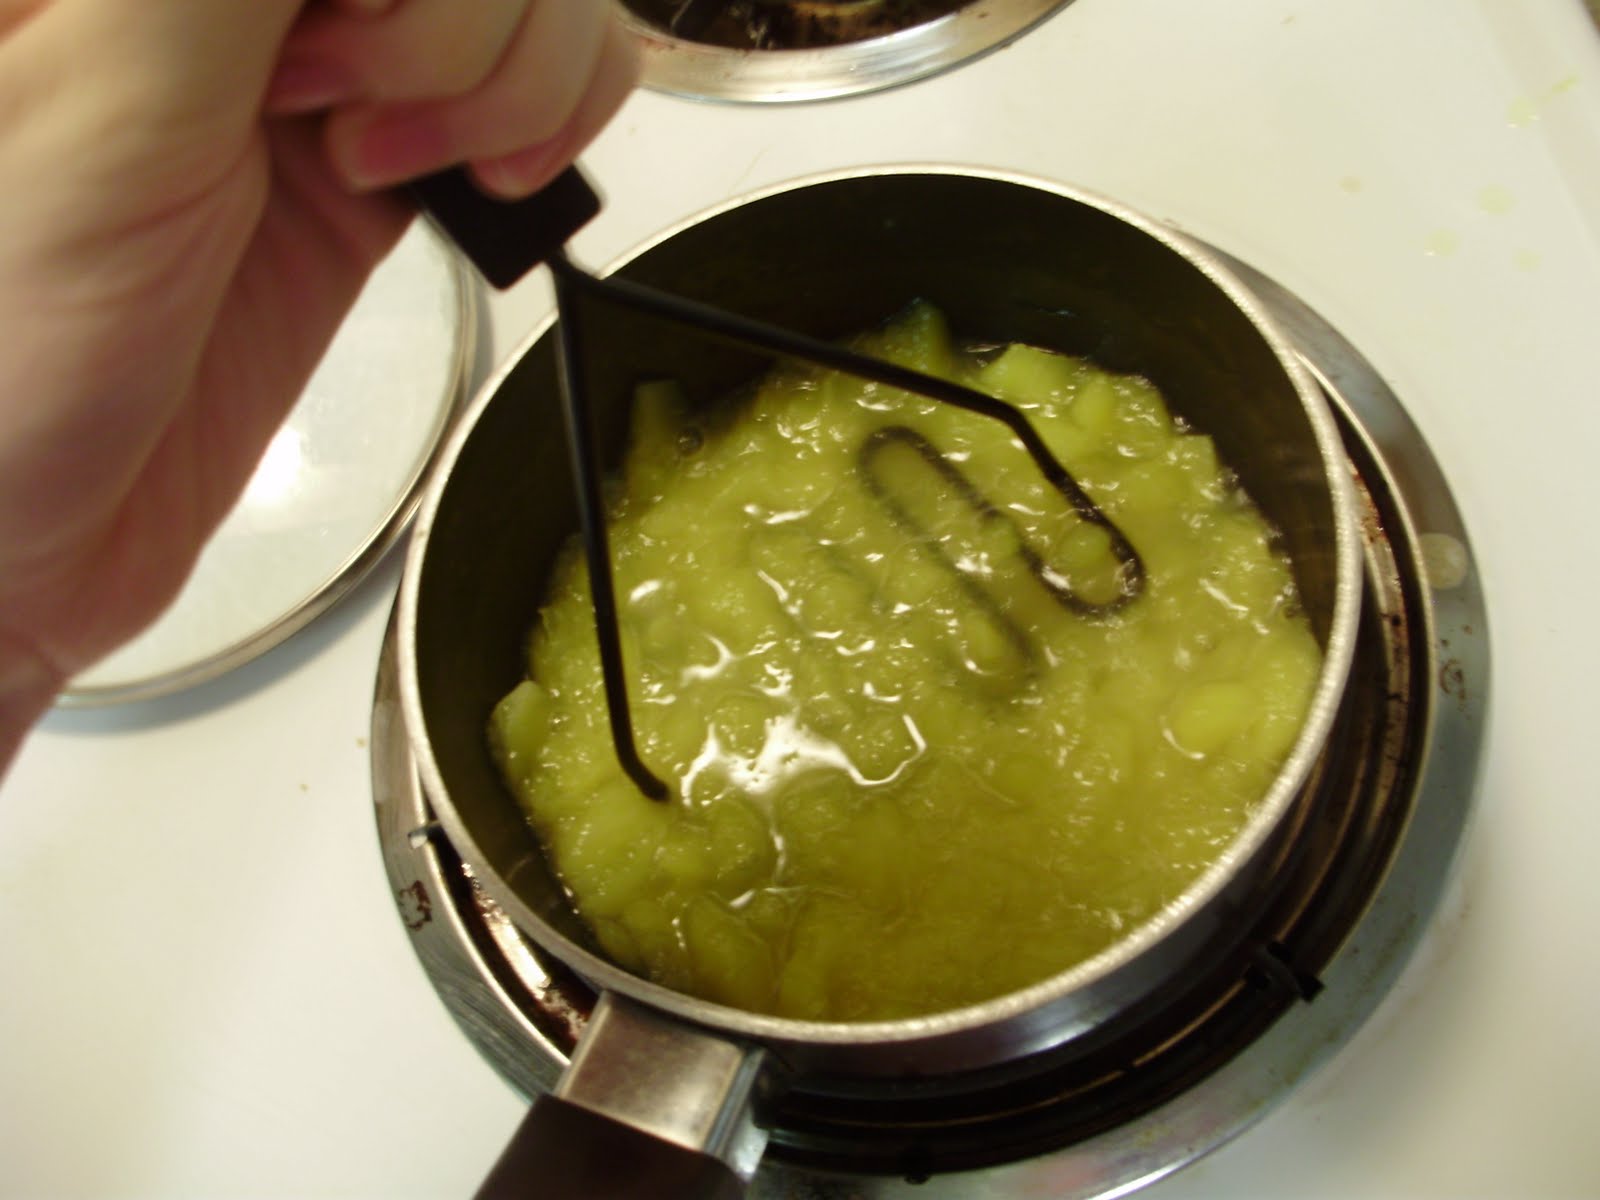
Put the chopped mango in a small saucepan and cover the pieces about halfway with water. Add the sugar and lemon juice, and boil for 5-7 minutes over high heat. When the water's volume has been reduced by about half, mash the fruit pieces with a potato masher. Alternatively, it could be blended smooth with an immersion blender.

And here it is in photos!


There will be coconut solids clinging to the lid and sides of the can, and perhaps because the people who taught me to cook were raised by depression-era cooks, I always try to get the remnants of food out of canned anything.

The mixture takes 5-10 minutes to come to a solid boil.

The pudding is already quite thick by this point. Also, while boiling, keep a close eye on the pot, as you can see by the gunked-up pot sides, this thing boiled over when I wasn't looking.

While the pudding is thickening on the stove, you can make the mango puree! The cooking and addition of sugar probably would not be necessary if you buy your mangoes somewhere more tropical then the Pacific Northwest

Just imagine that my hand is not holding a camera and instead is holding that knife.

I should have used a bit less water then this.

After boiling off about half of the water, it is time to mash it! You could puree with an immersion blender, but aside from the fact that I don't have one, I like having the chunks of mango interspersed among the rice.

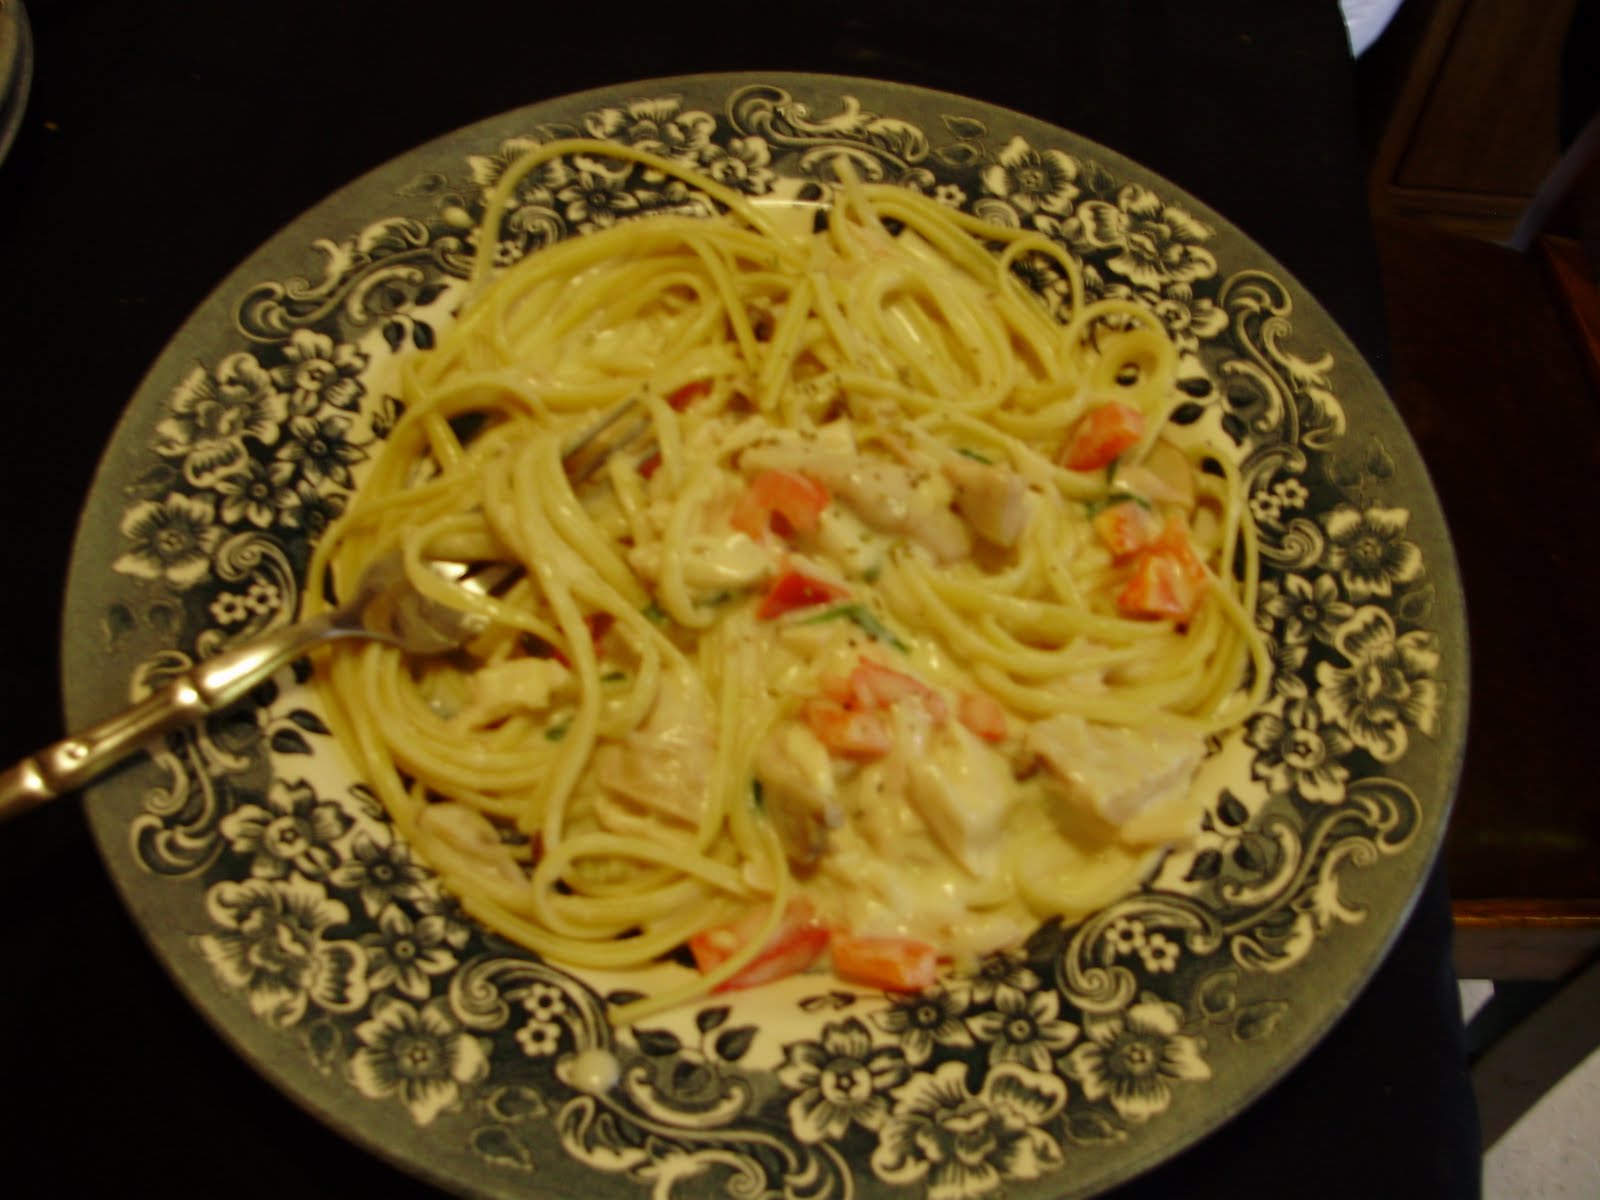
Spoon some on top of your pudding and enjoy!

Saturday, May 1, 2010

Roasted sweet potatoes

So being that it is technically spring, though it is still pretty chilly around here, it is grilling season! The Man and I have been grilling a lot (well, more him then me, it's like if you add fire to anything then guys think it is awesome) these last couple weeks.


There has been extra incentive to do grilling as it is pretty low-maintenance cooking, and low-maintenance is ideal when it is finals week and one of you is graduating this year. Make that "graduated", as I spent most of the day today going to my husband's graduation ceremony and reception things. Yeah. Next year I get to go to all of those things again.

But that has nothing to do with roasted sweet potatoes, which are really good!

So this is less of a recipe and more of a method that the Man came up with. Apparently when he was spending time in Egypt you could buy roasted yams from food carts, and recently he decided to try and make his own.

It turned out really good and it's not difficult. Only when we made them a couple days ago, we used sweet potatoes, but those are yummy as well. It also works with normal potatoes, but because of the lower sugar content in a russet-type potato, the flesh doesn't caramelize or get very smoky, and they aren't much more exciting than baked potatoes.

Also keep in mind that I'm fairly sure that the "yams" you buy in the U.S. are an orange-fleshed variety of sweet potato, but don't quote me on that.

Anyway.
Here is the basic method:


When you are done grilling meat and veggies, the coals should still be hot but will have cooled down quite a bit. Just put the sweet potatoes/yams directly on the coals. I usually try to pile some hot coals on top of the potatoes, but there weren't quite enough coals this time.

He likes to push the coals with a piece of wood. I usually use tongs. Either works.


Put the lid back on the grill, and then turn the potatoes over after ten or fifteen minutes. They'll be charred and a bit ashy, and that's fine, as I usually don't eat the skin anyway.


They're done when they look like this and are slightly squishy when you poke them. That time varies a lot depending on the size of the tuber (tuberous roots, technically) or how hot the coals are, but I cooked these for probably 45 minutes. It would probably be hard to burn them because the coals cool off pretty quickly.


That's it! You can mash them with some butter (which is really dang good) or eat plain. We usually eat yams without the butter.


Note that the yellow is not from a crappy camera (well, mostly isn't) but that sweet potatoes have a nice golden color on the inside.

And you have an easy side to a barbecued meal!